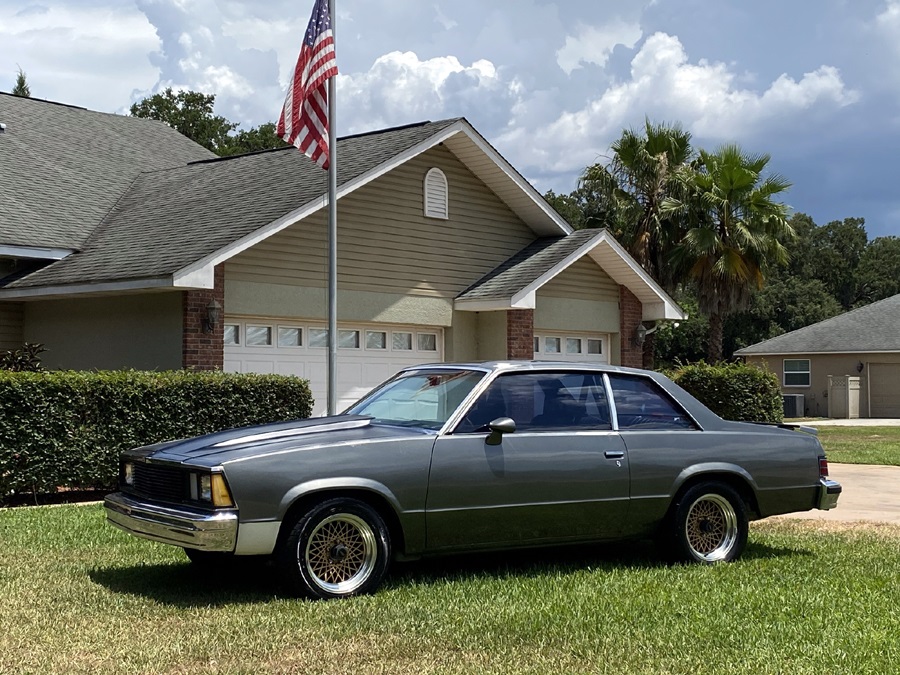
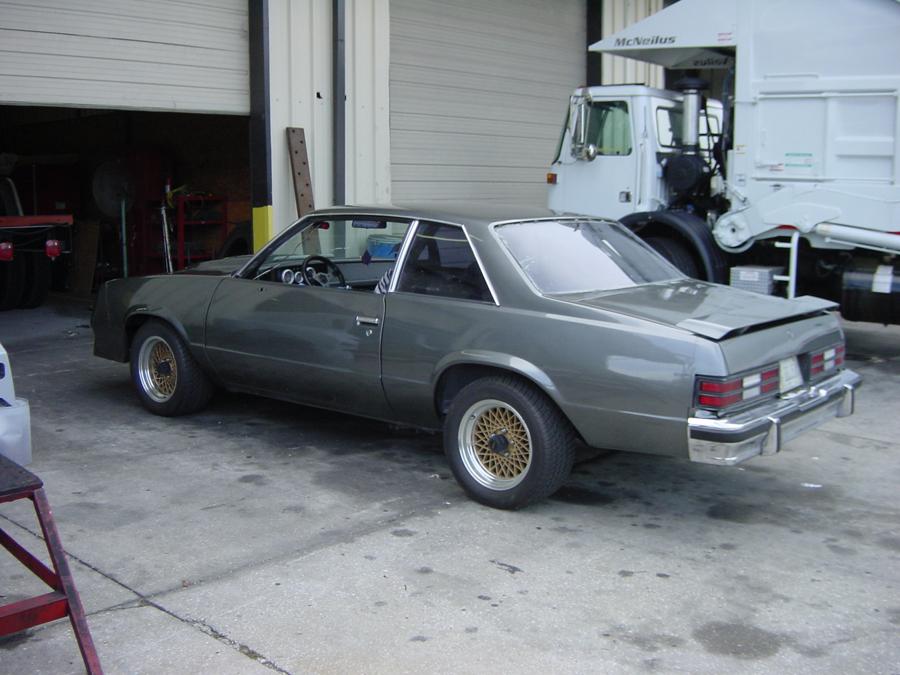
This is perhaps the most built car I’ve owned, a 1980 Malibu Classic

I originally purchased this car in 1988 while living in Anderson Indiana, as a stolen recovery out of Fort Lauderdale Florida for $550. Since that time she’s
undergone three iterations and a lot of duty cycles. Below are those different lives along with some of the build pictures taken along the way.
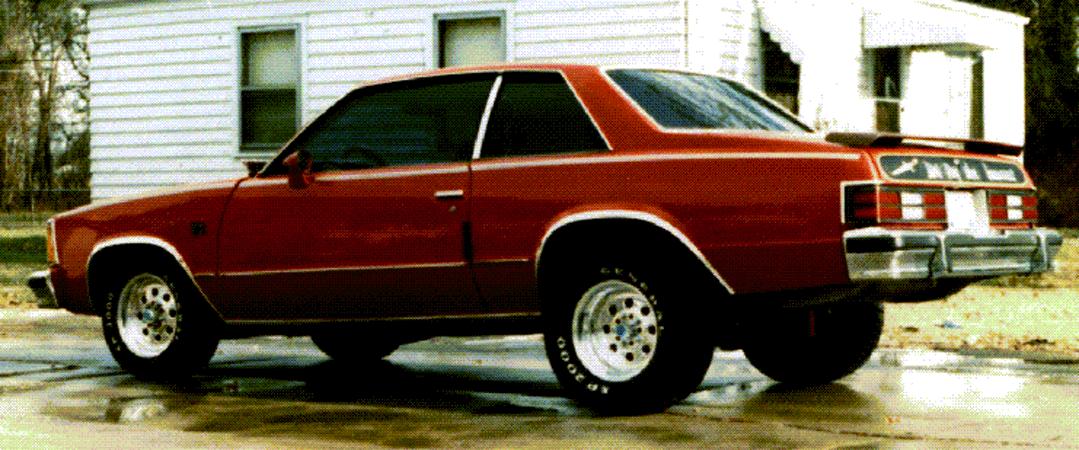
Phase 1
Purchased in 1988, the 1980 Malibu Classic
sported red paint and a green interior.
My brother hand-painted the text
"Not For The Innocent!"
and graphic across the trunk lid.


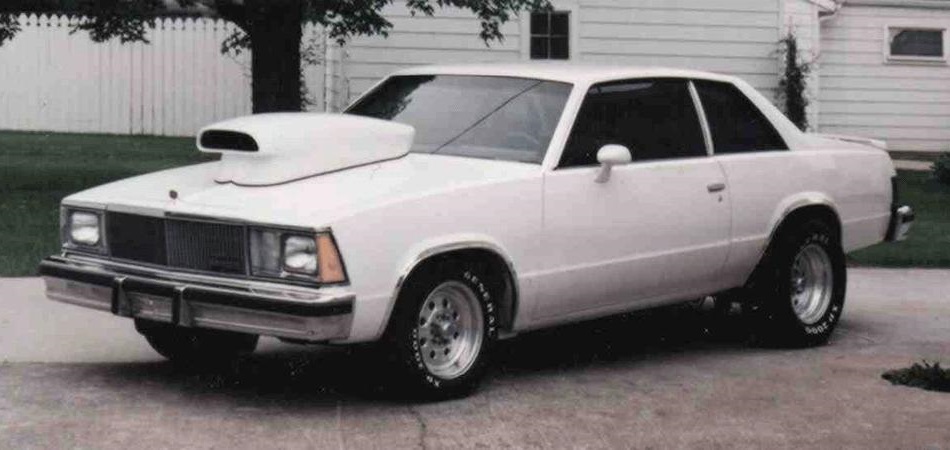
Phase 2
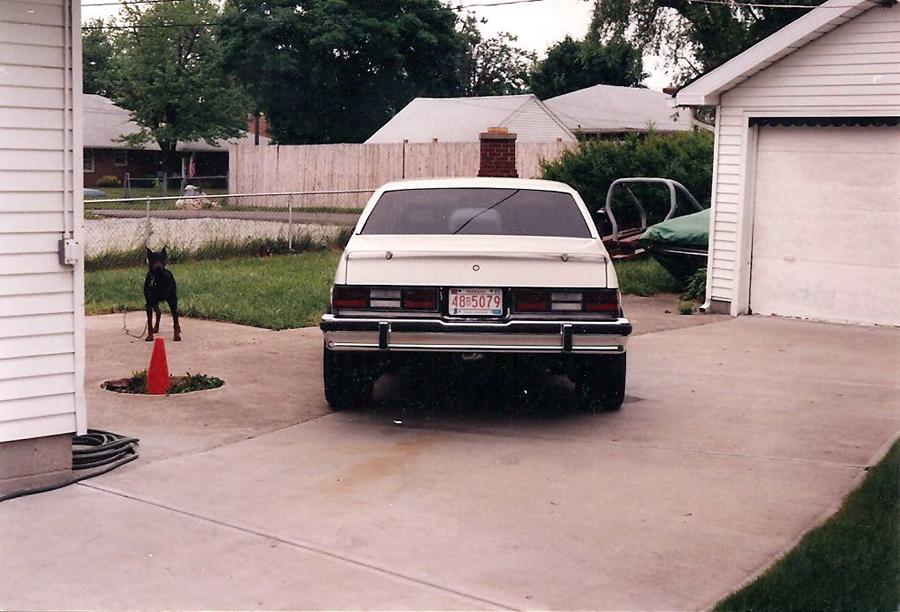
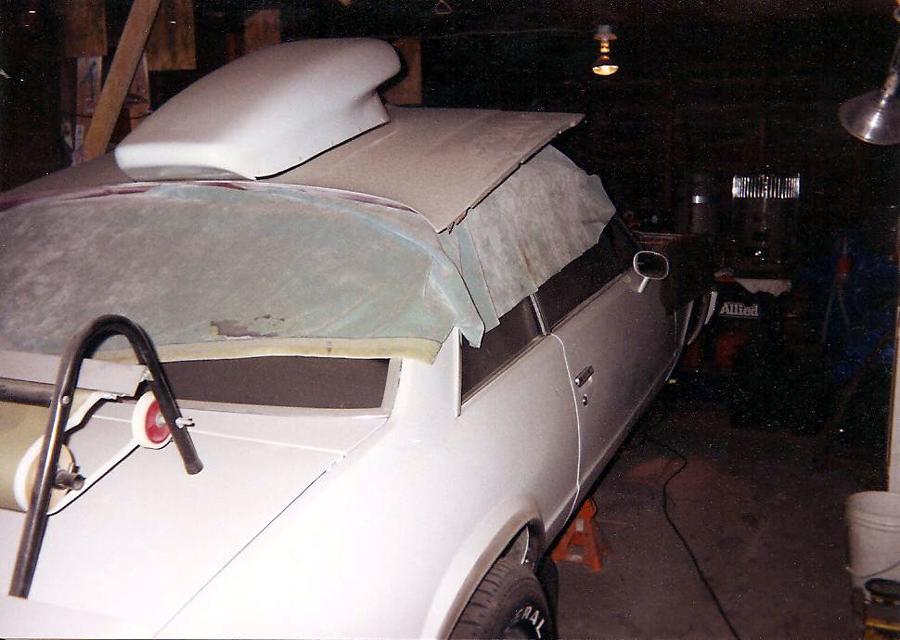
This was my favorite iteration (1993),
the all white Pro Stocker!
Notice the 1968 Charger R/T sitting
under a tarp in the backdrop and
Sargeant, my full-blooded Doberman
Pinscher standing guard--he was awesome!


I scavenged this 12-bolt differential from a 1970 Chevelle found in the weeds of a local boneyard, fitted it with a rebuilt positraction unit and 488:1 gear set.
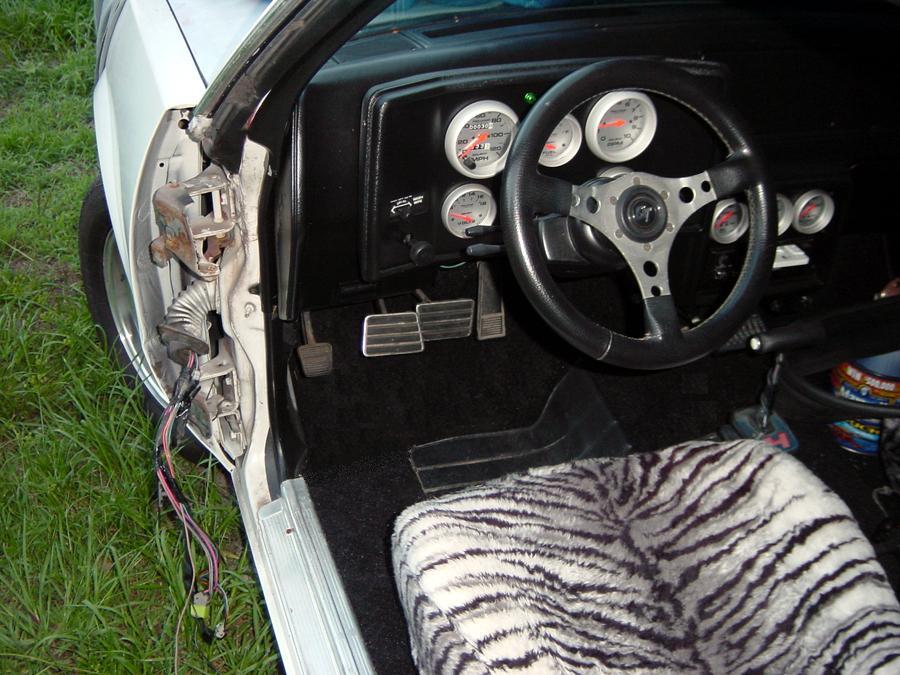
The gauges are Auto Meter's Ultra-Lite line and the seats are Recaro found in a Fox Body.


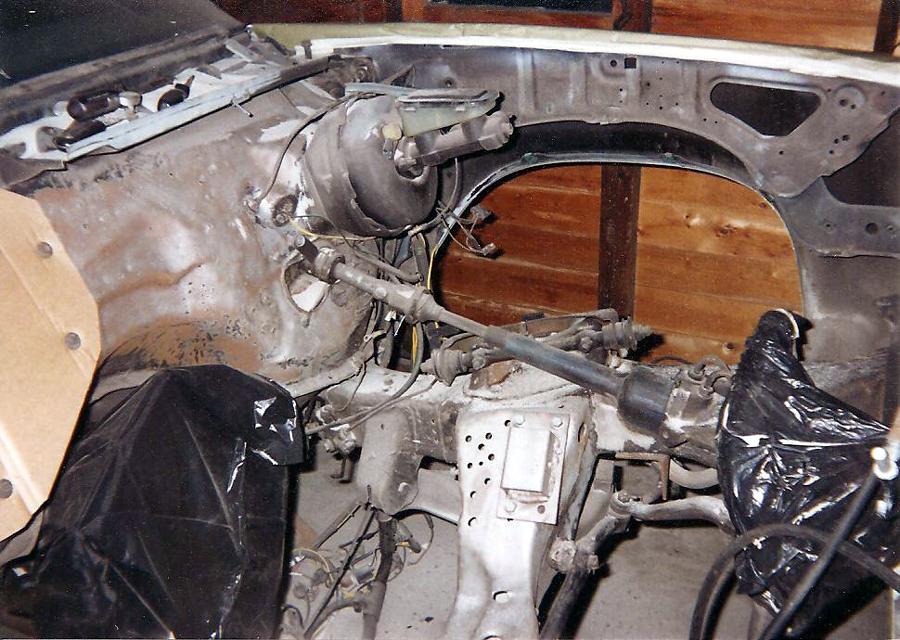
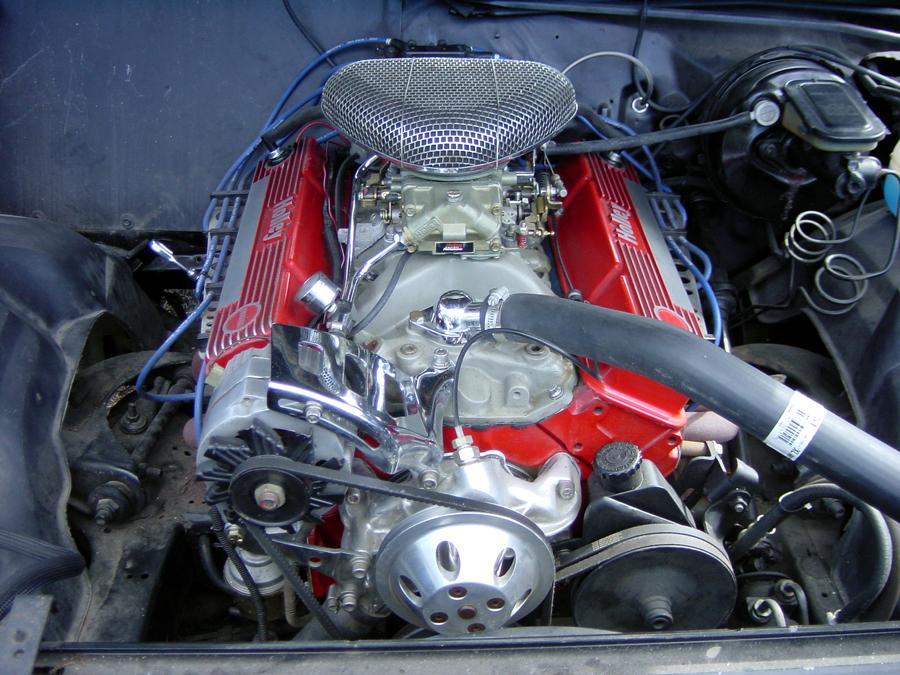
As can be seen in the engine photo, above, everything in the doghouse was sandblasted down to bare metal, sealed with self-etching primer and painted
satin black.


Phase 3
This iteration (2011) was all about detuning to make it streetable for my son, Joshua! She sat in storage for about fifteen years while waiting
for Josh to come of age. That's when we tore her back apart and reworked both body and driveline. The previous street/strip motor had long since given up the ghost
by way of four blown pistons (shattered ring landings). The block used here is out of a 1980 Corvette that I sold to a good friend as a project car.

Visiting the driveline we can see our freshly rebuilt motor which included forged I-beam rods, hypereutectic pistons, a mild cam and the factory Corvette heads.


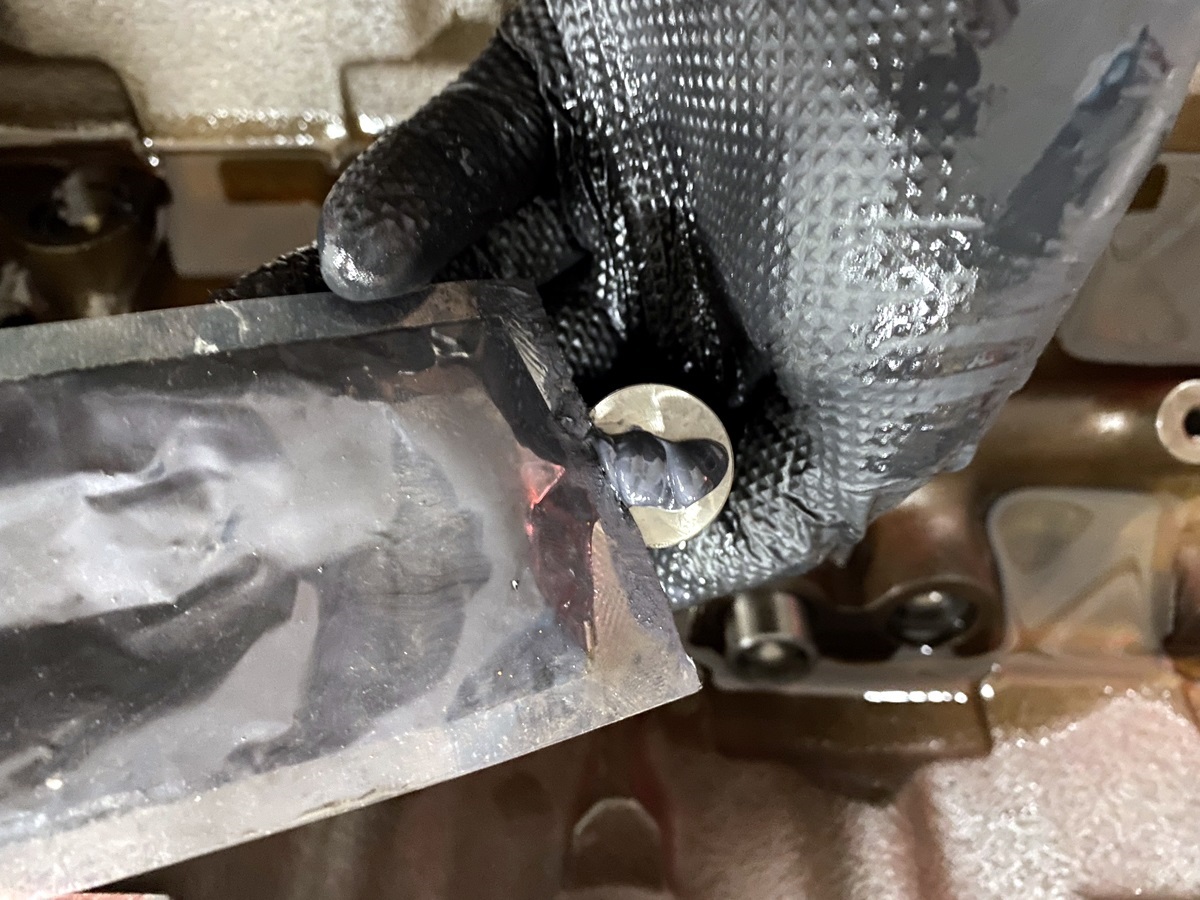
We had valve lash problems during break-
in and discovered two of the rocker studs
(cylinder 3) were pulling from the head. We
think a combination of age and stiffer valve
springs (needed for the hotter camshaft)
caused this rather unusual condition. Our
problem became much worse when the
number four intake valve rocker stud boss
shattered, spitting out two chunks of cast
iron along with the rocker stud.


The value of our factory heads was about as questionable as their performance, so we located a set of World Products Torquer S/R Heads at a local machine
shop. These are mild performance heads sporting a 67cc Chamber, 2.02 Intake, 1.65 Exhaust, and 170cc Intake Runners; they flow a whopping 221/153cfm
at .500 lift.
Installing these was major surgery, taking a full eleven-hour day to tear down the motor, clean gasket surfaces, reinstall, torque everything back down, adjust valve
lash and set timing.


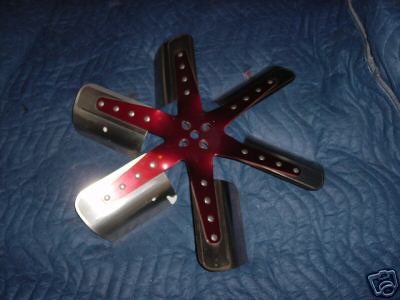
While dialing-in the motor we noticed wild fluctuation in the engine's temperature. The electric fan wasn't pulling enough air through the radiator and
across the motor, so we switched to a stainless steel flex fan and topped it off with a chrome shroud.


Here are a few undercarriage shots taken during inspection.


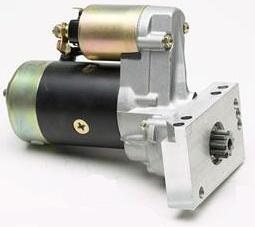
After a number of starts we noticed the
factory starter was beginning to drag,
worsening as the day went on. We
verified the timing and realized the
problem was a weak factory starter,
so we replaced it with a quality gear
reduction unit. It's three to one ratio
gave us more than enough torque
at half the weight.

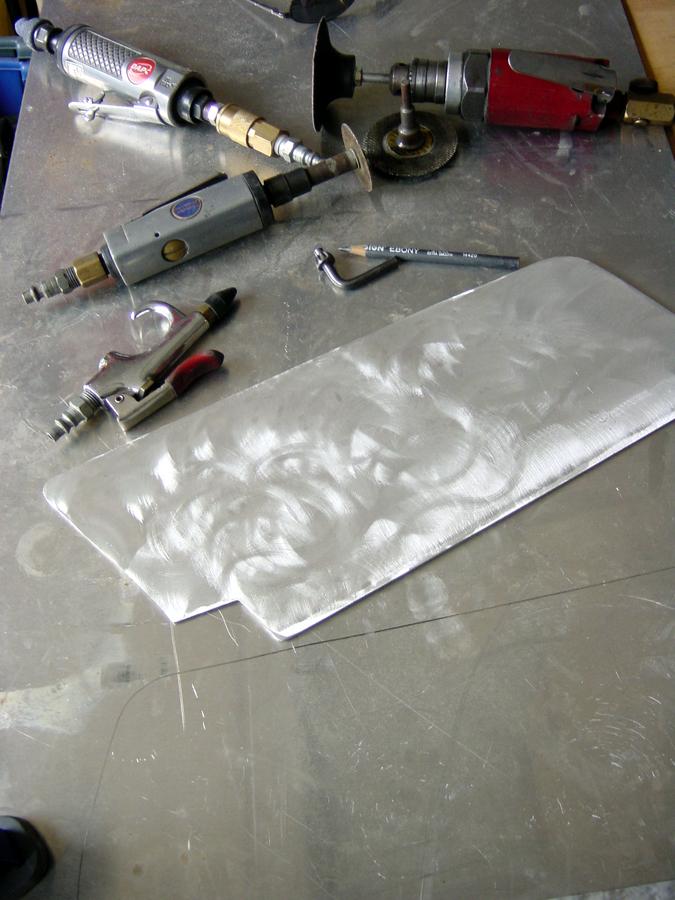
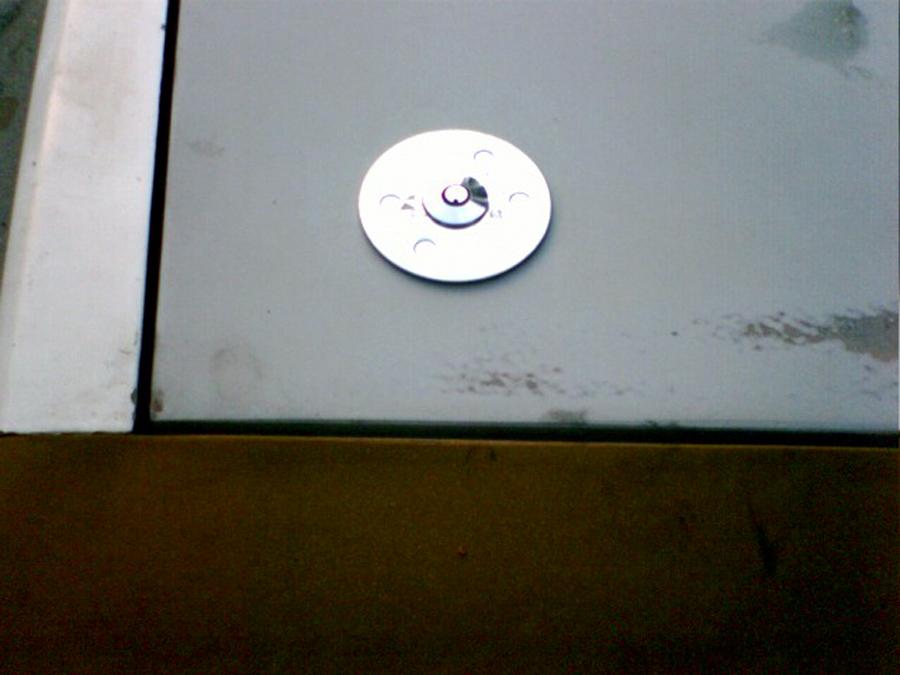
Next up was fabricating mounting points for the custom SS nose. We made a pair of two-piece mounts out of 1/8 inch aluminum stock. They also
provided good mounting points for the fiberglass cowl induction hood.

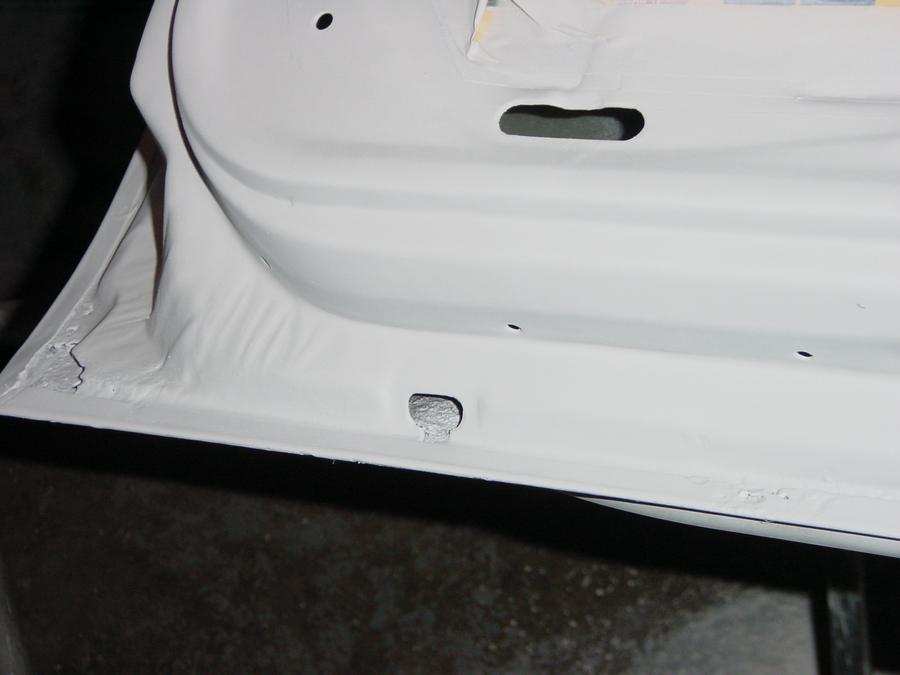
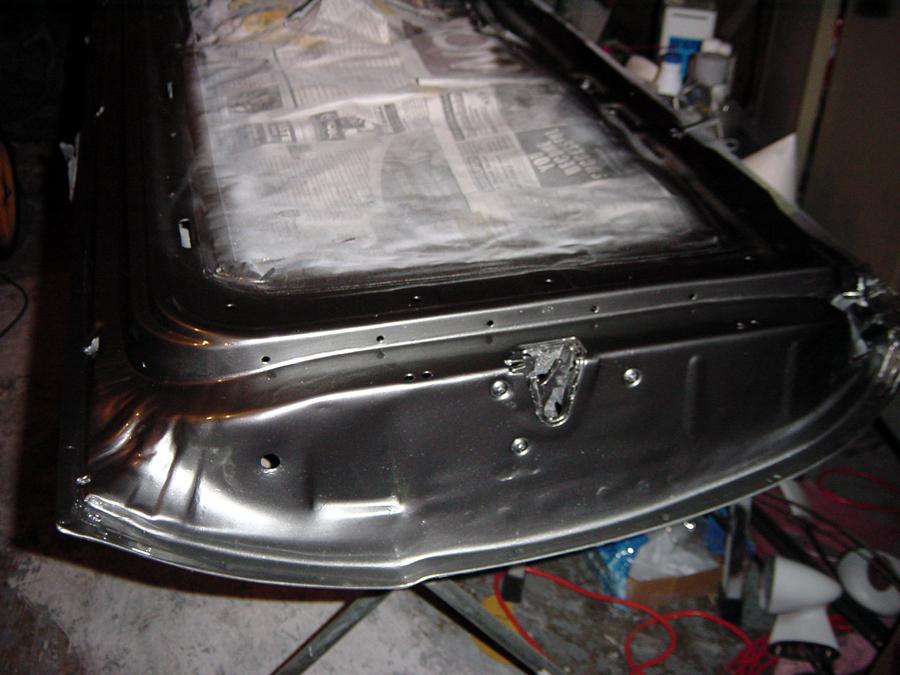
Moving on to the rest of the body we removed the Drivers Side Door, replaced the worn-out electric window motor and stripped down the jam area to expose
the rust that had occurred since she was painted some seventeen earlier. We applied Rust Mort (Acid Based Neutralizer) everywhere there appeared
to be signs of rust. Afterwards, we replaced the metal, sanded all of the areas smooth again, resealed all of the seams with 3M Seam Sealer and covered
it all with self etching primer and repainted. After 24-hours of curing we rebuilt the hinges with new bronze bushings and hardened steel pins before
reassembling.


We performed the same restoration on the Passengers Side Door.


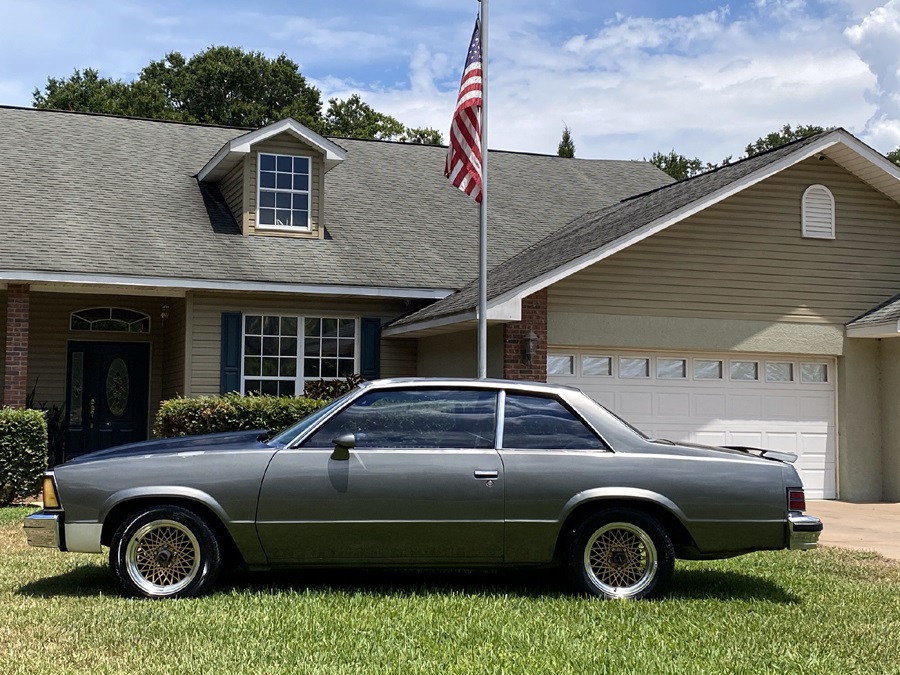
Fresh out of the paint booth and the color looks great!


Phase 4 (Today)
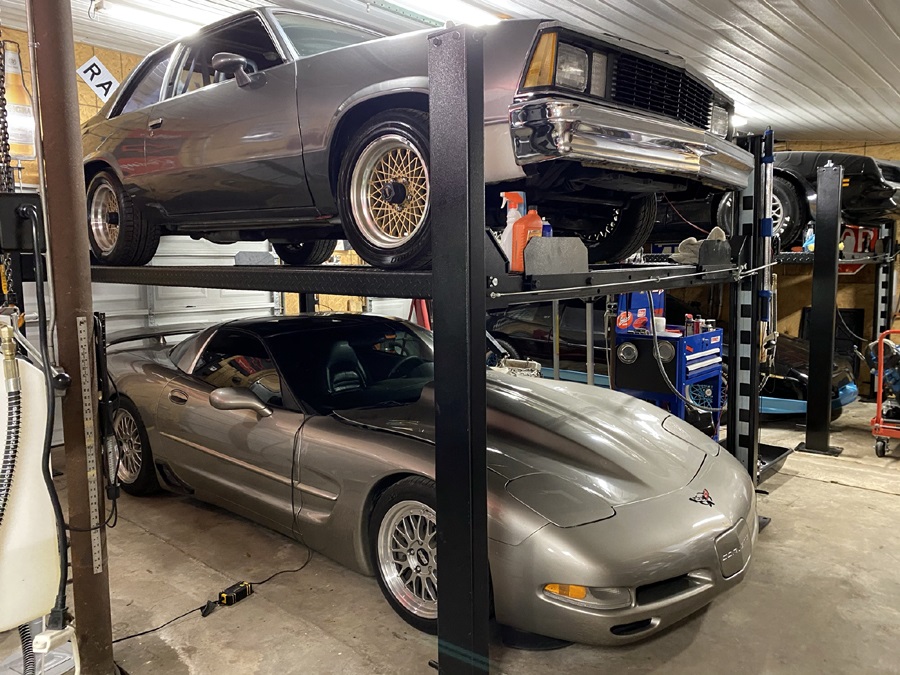
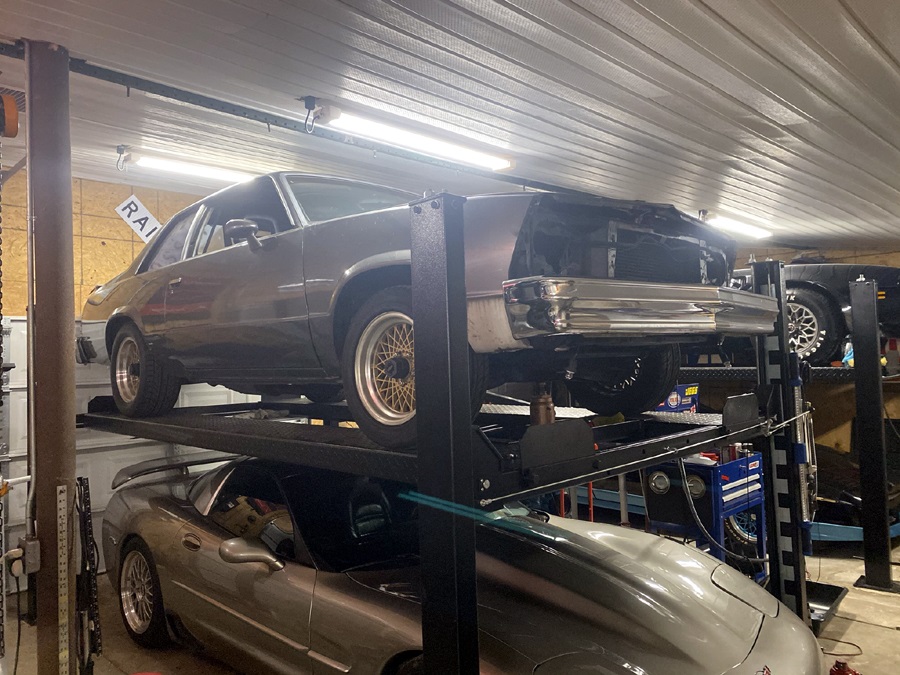
Thirty-three years after its purchase and ten years after gifting it to my son, the Malibu is once again mine! As it turns out, Joshua is just not the car guy that I am. Well, as excited as I am to have her back in the collection we're out of room and cycles here at the hobby shop.
I need to find her a good home, so we'll start by getting her running and driving.
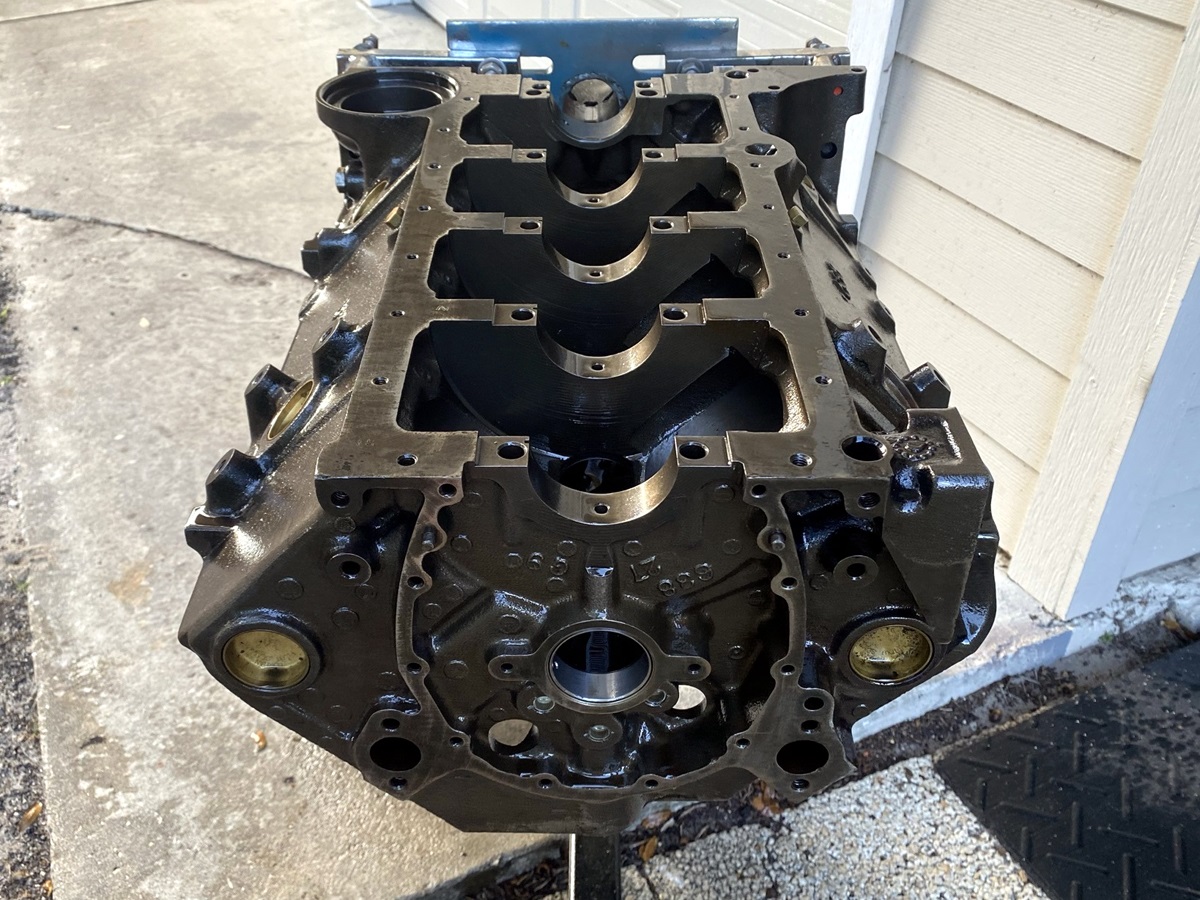
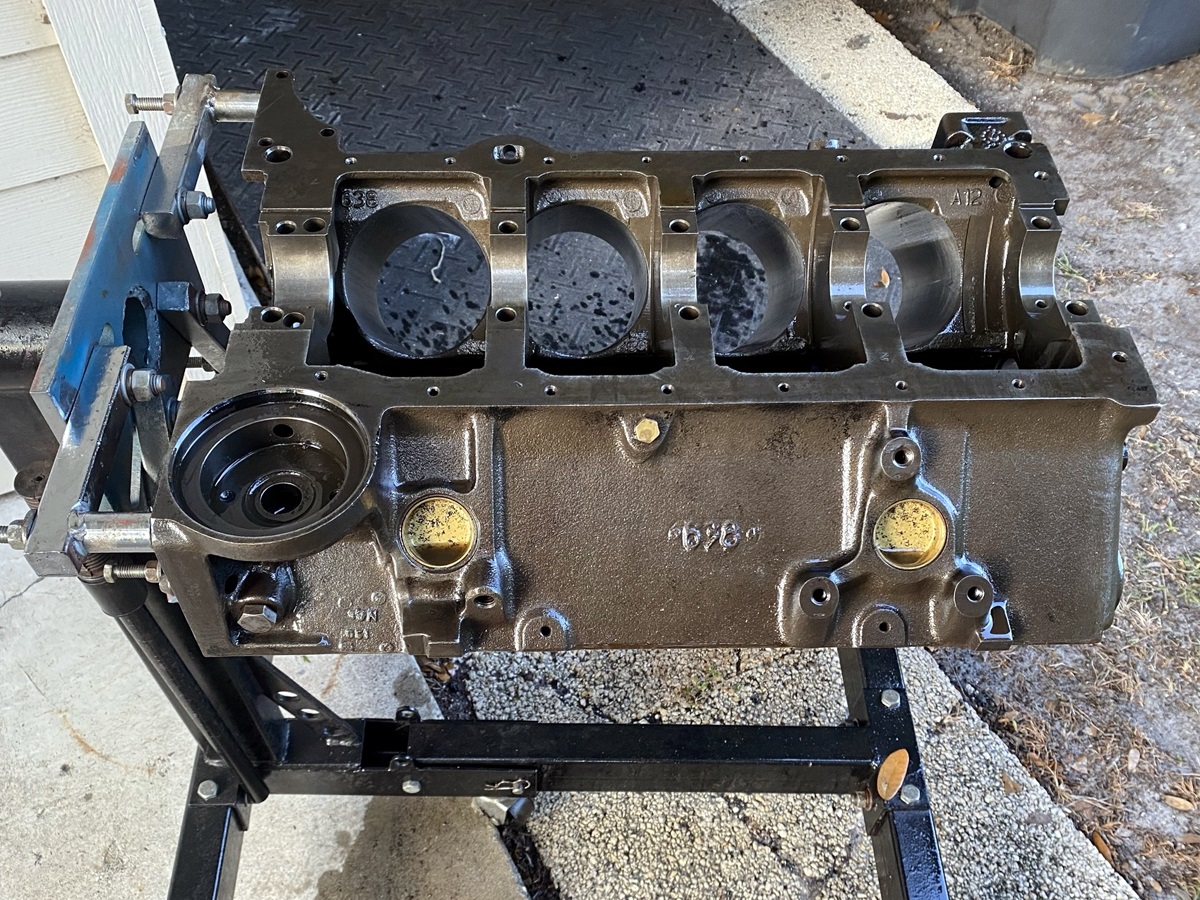
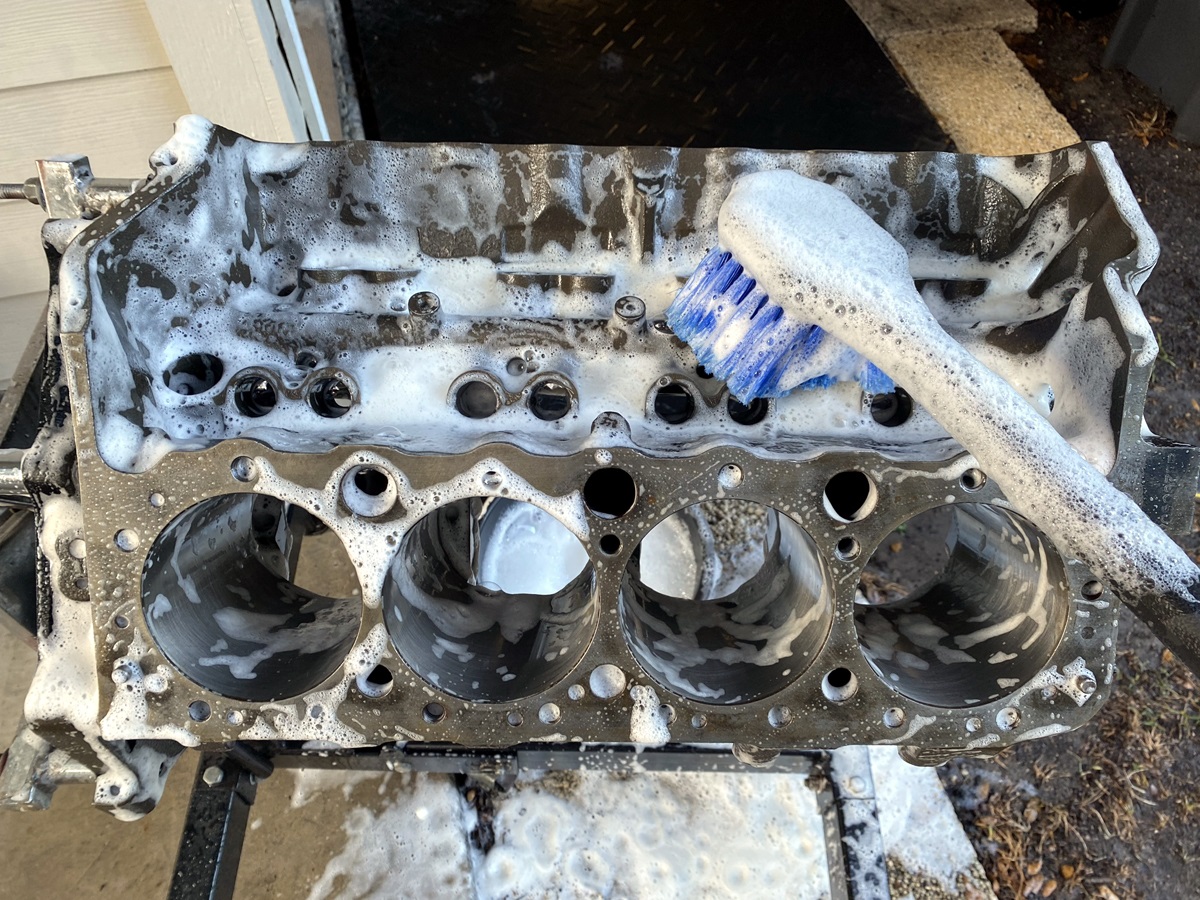
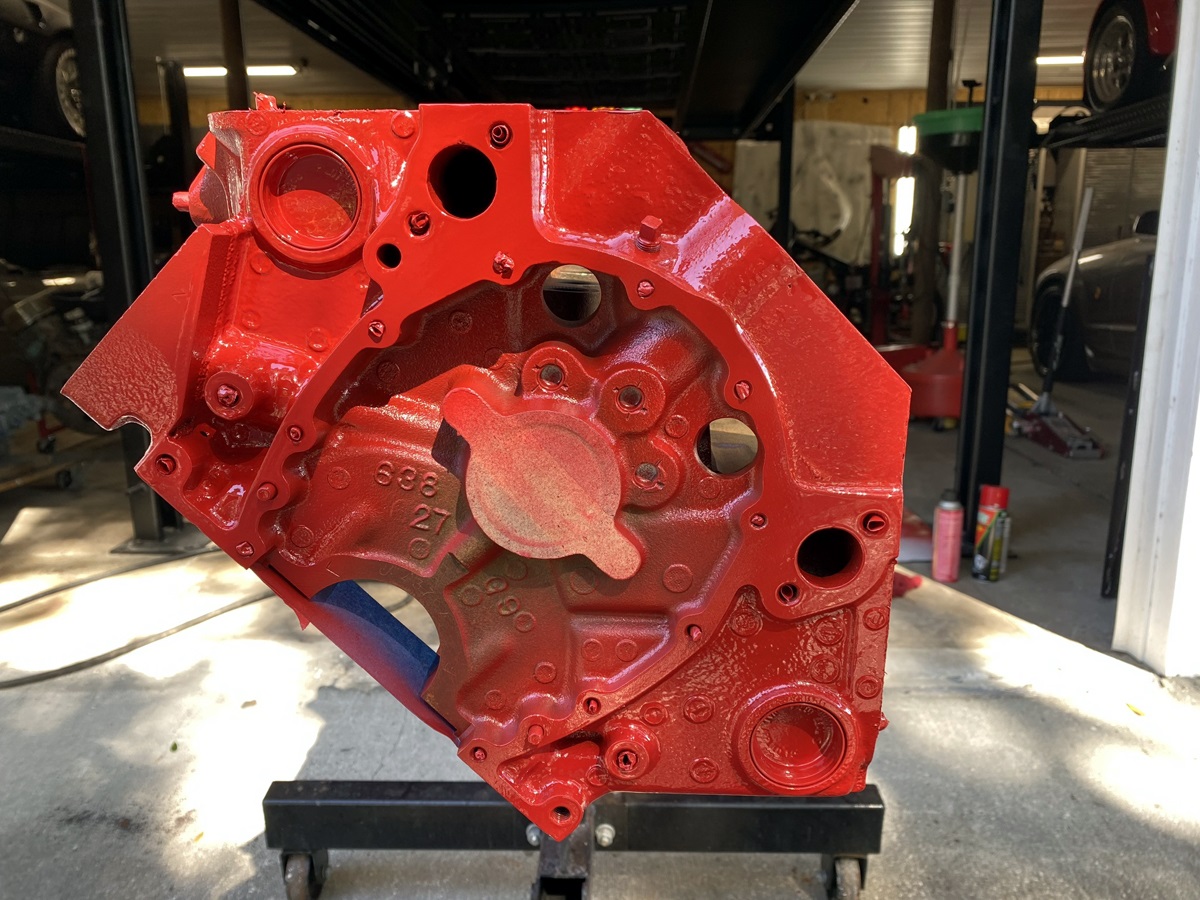
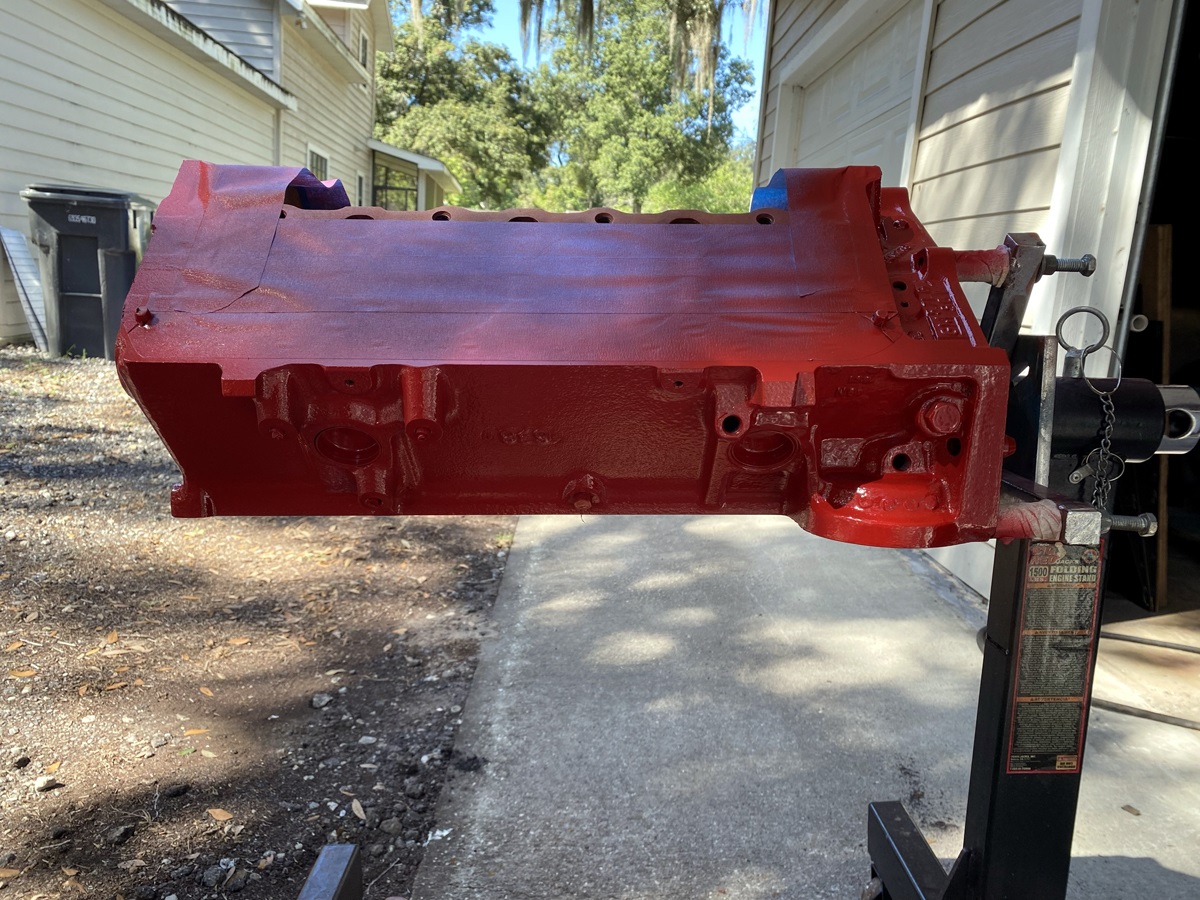
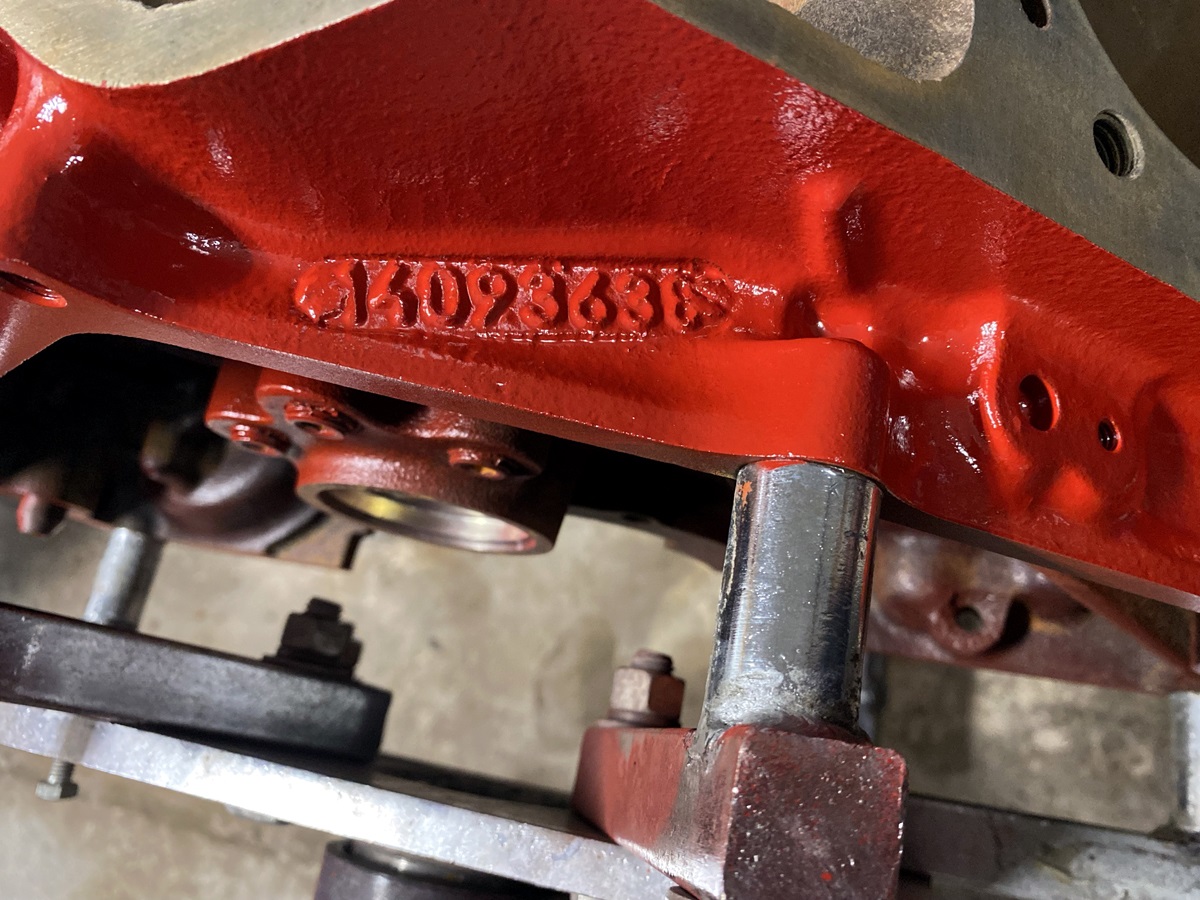
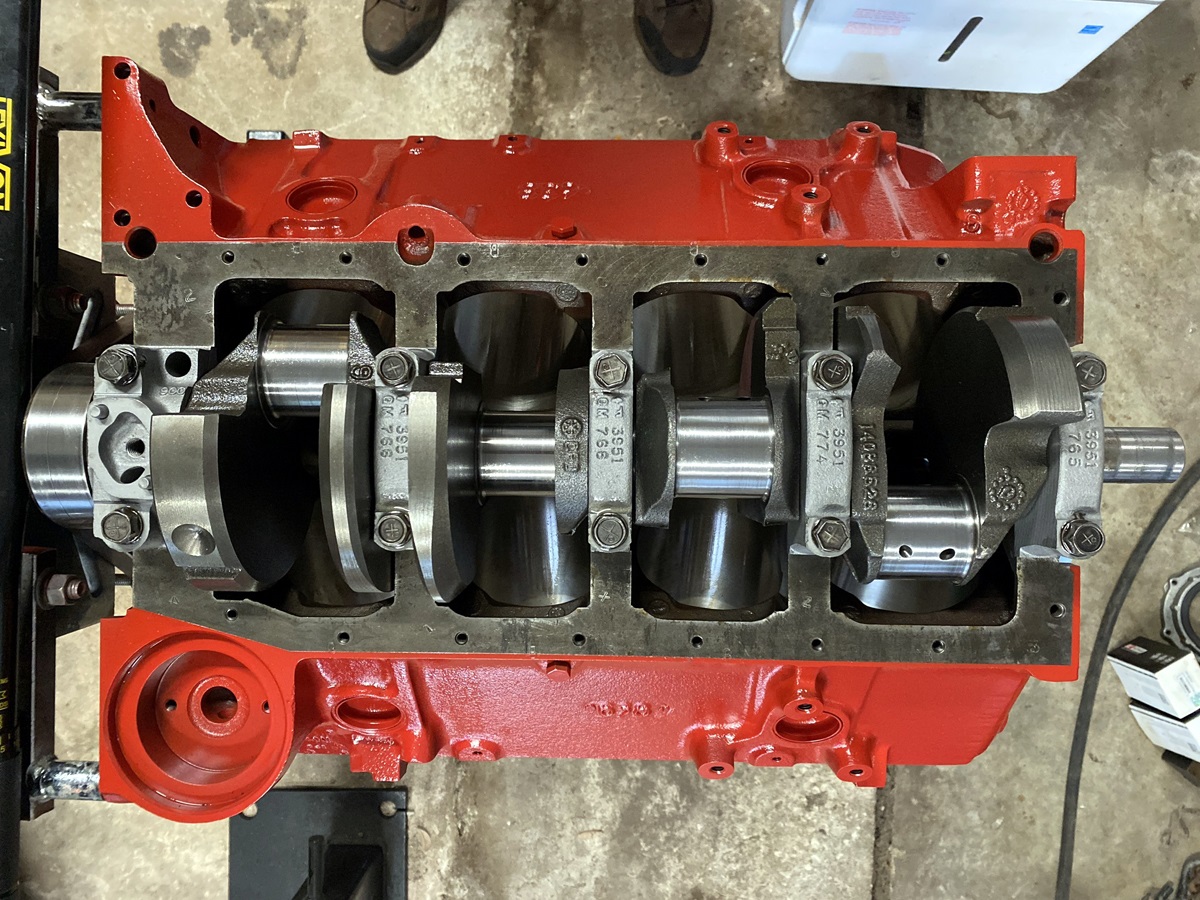
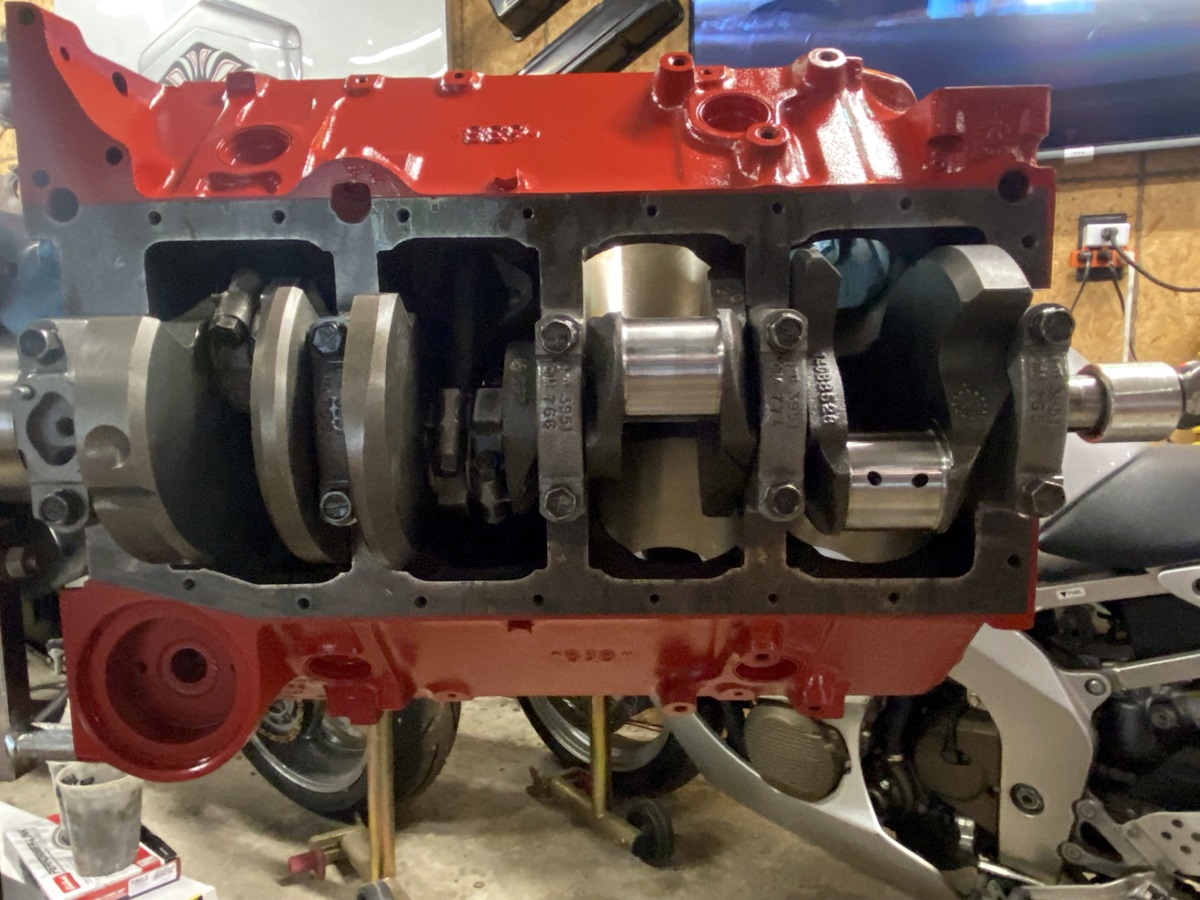
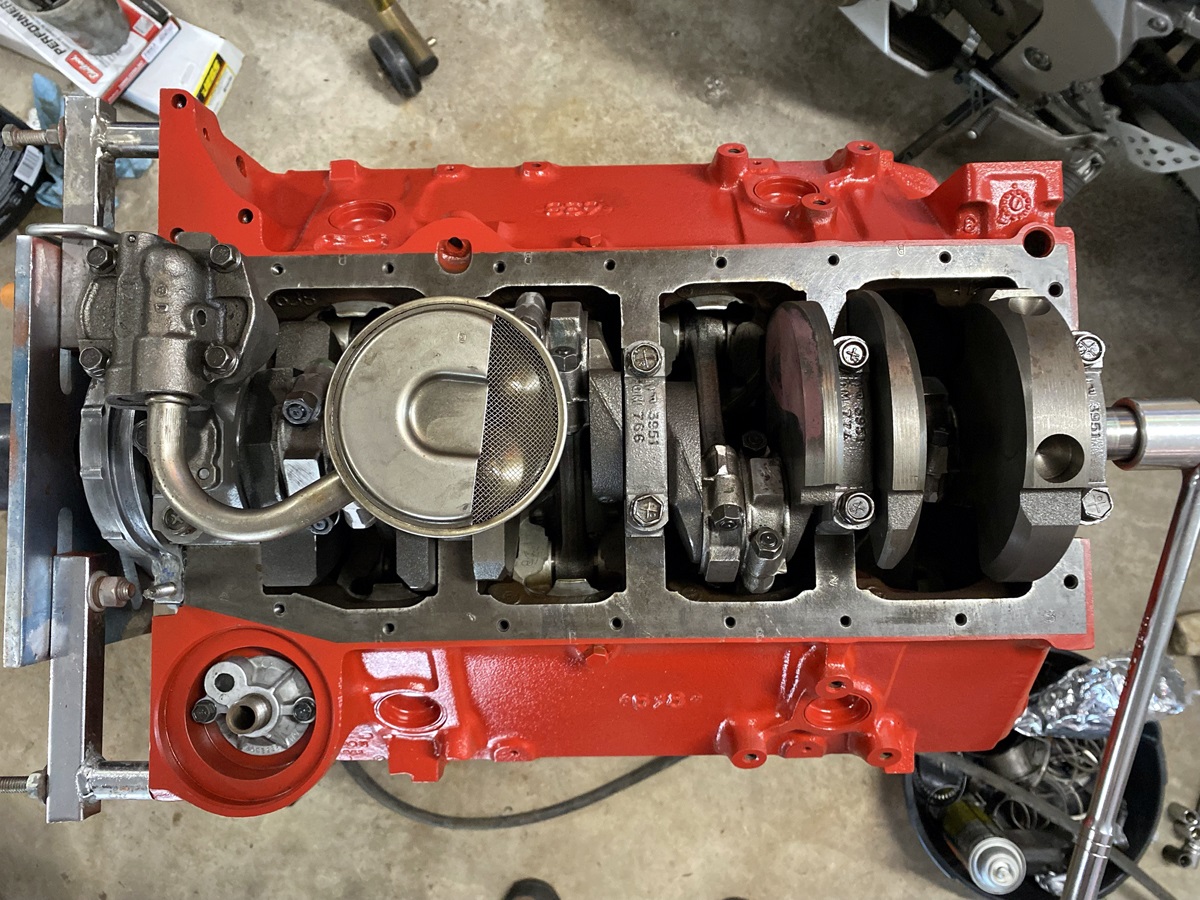
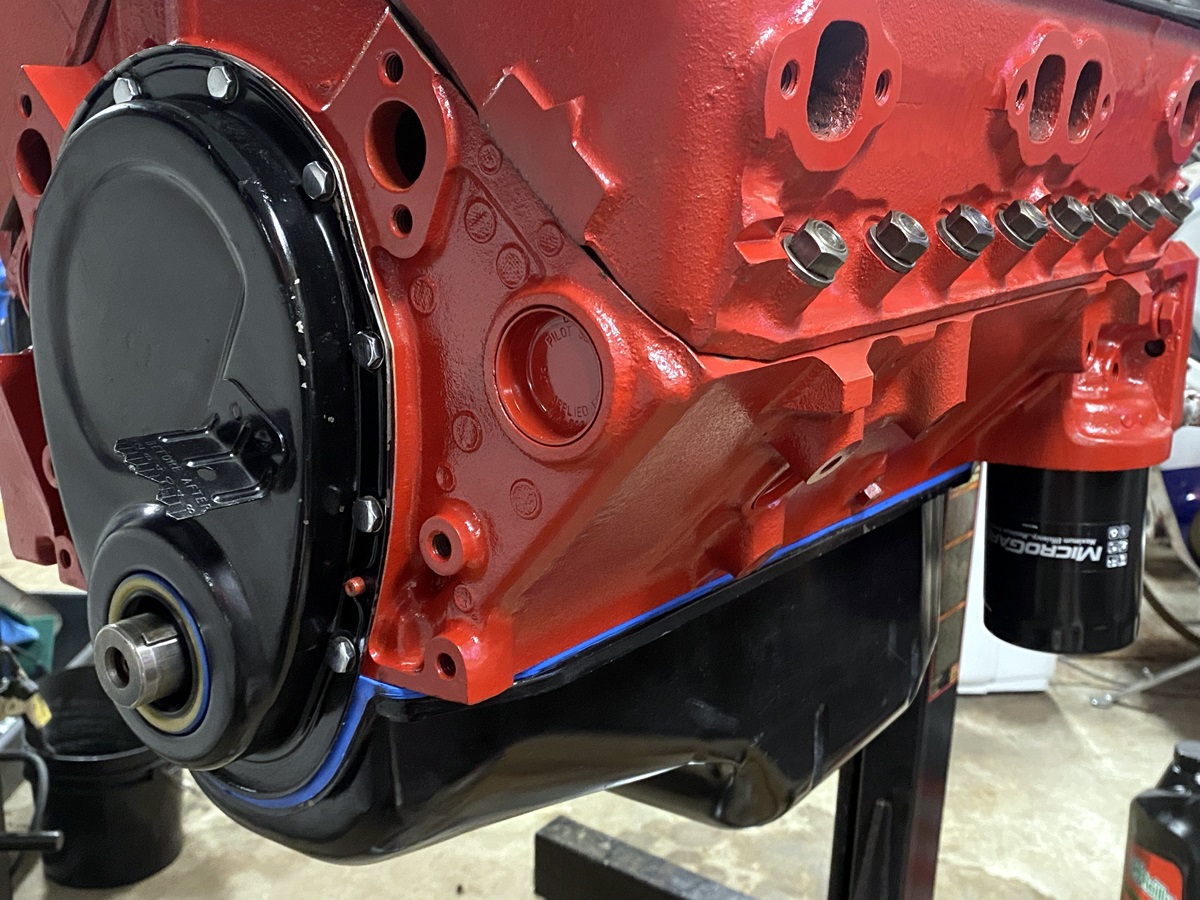
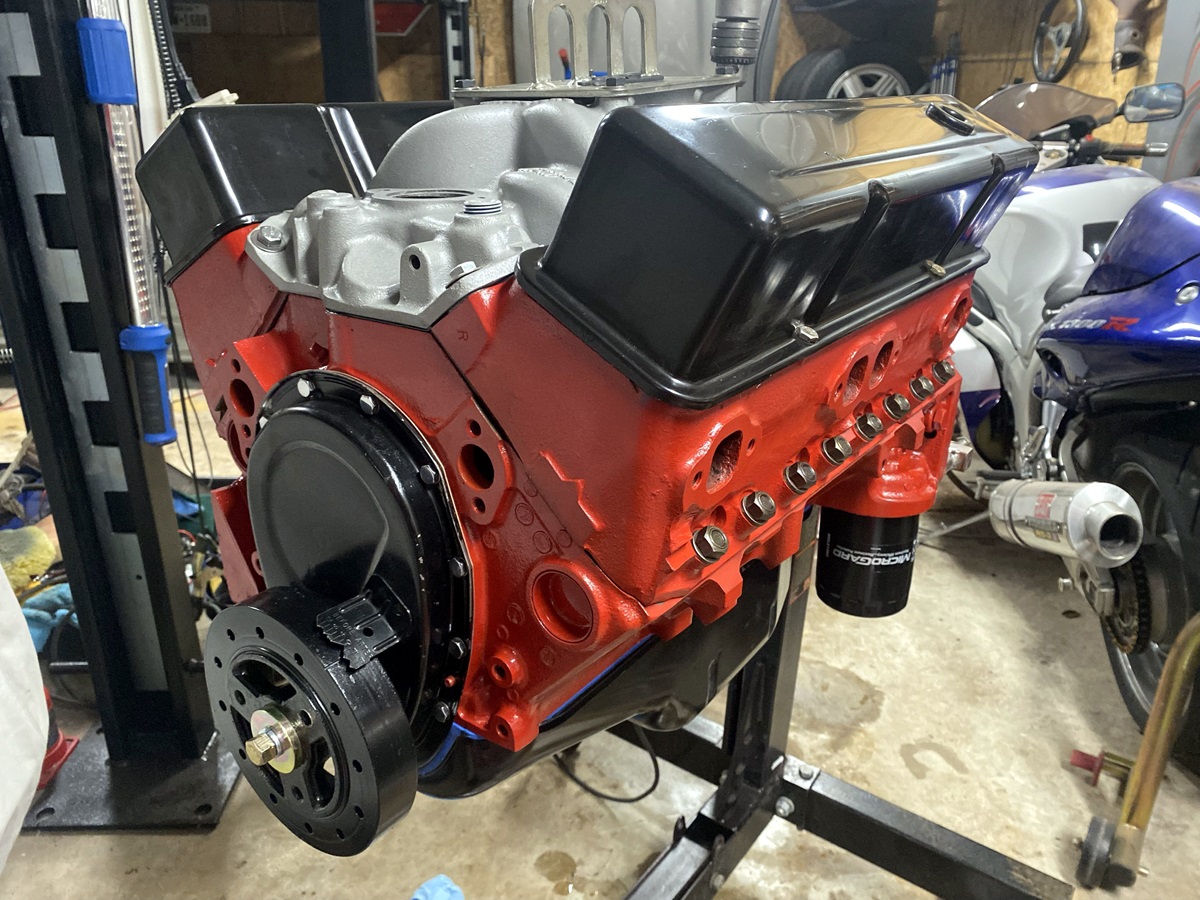
The first thing we have to do is build her a reliable mill and clean up some wiring. This 1989 Corvette L-98 block is a factory hydraulic roller unit with a one-piece rear main seal. Here she has been deburred of those ugly casting lines, degreased, washed, masked and painted.
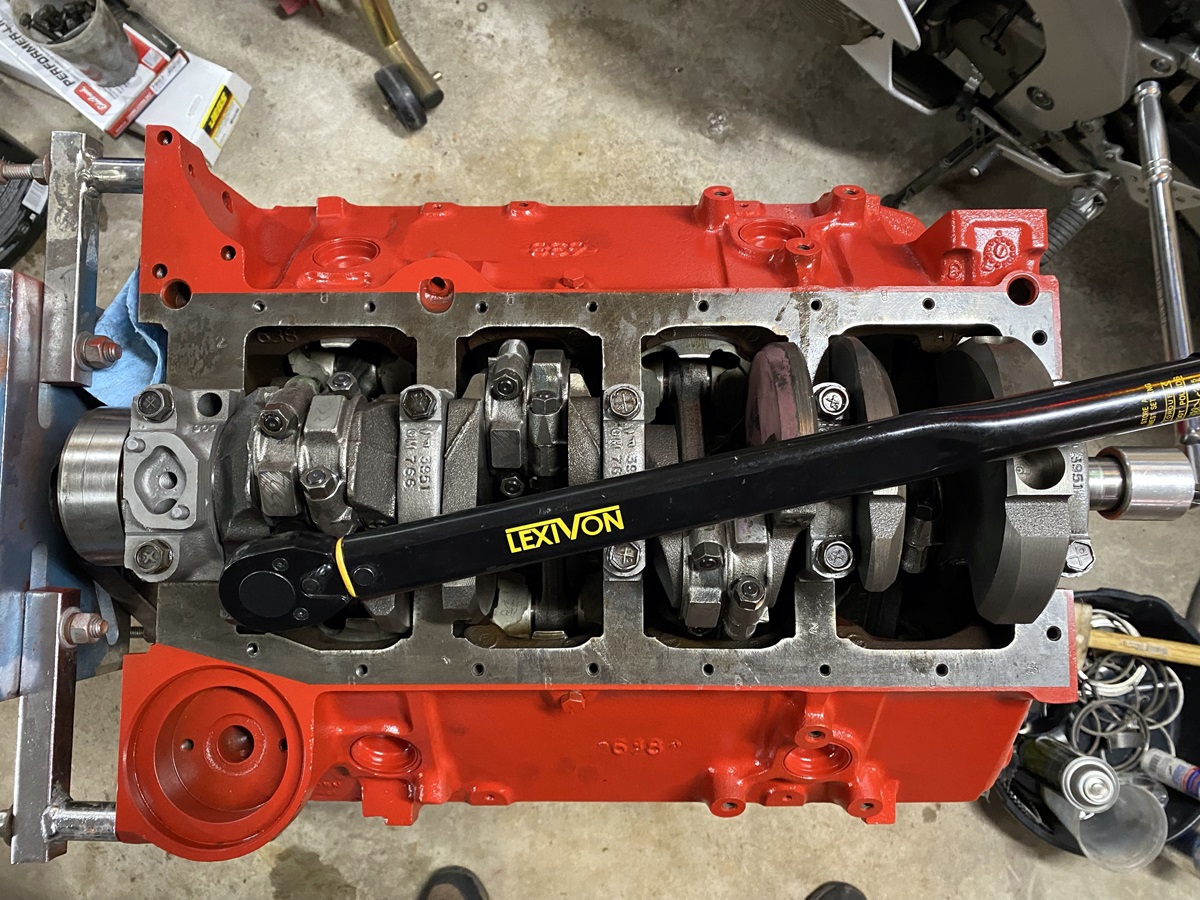
In goes the crankshaft (.005 End Play and 68 ft. lbs. torque)
followed by the piston assemblies (45 ft. lbs. torque) The crankshaft and pistons are L-98 OEM pieces mated with Elgin rods and ARP bolts.
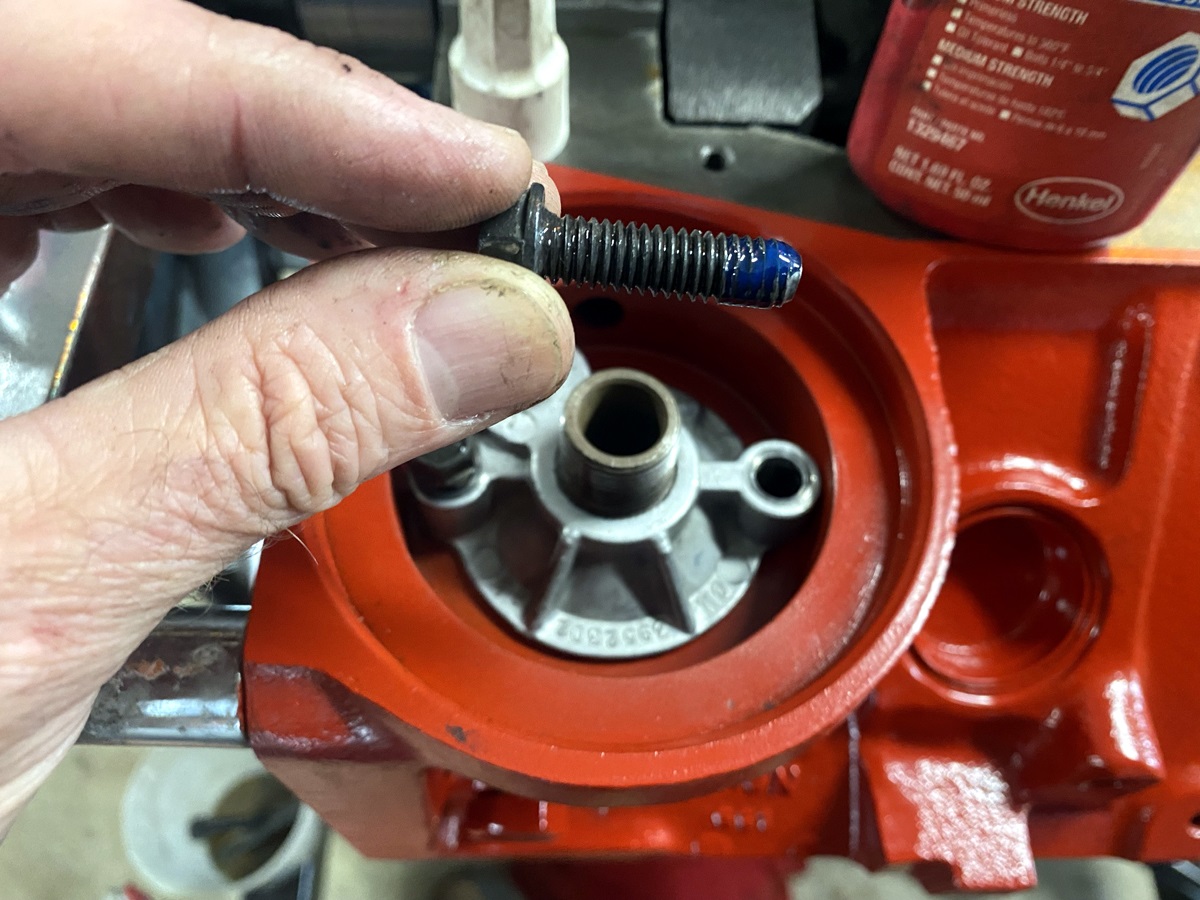
The oil filter adapter is installed with Loctite (7.5 ft. lbs. torque) followed by the oil pump (65 ft. lbs. torque).
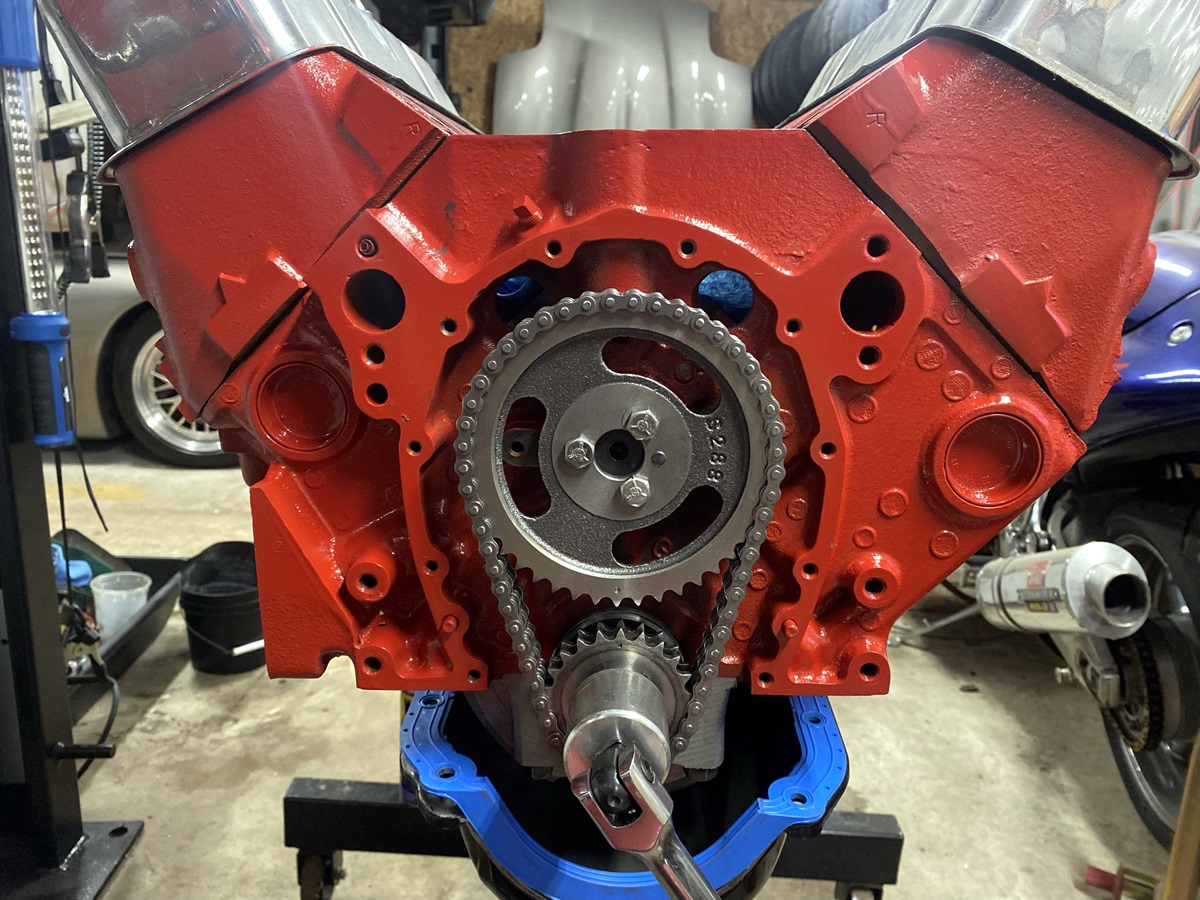
After the camshaft is lubed and installed on goes the timing set, again with Loctite (28 ft. lbs. torque).
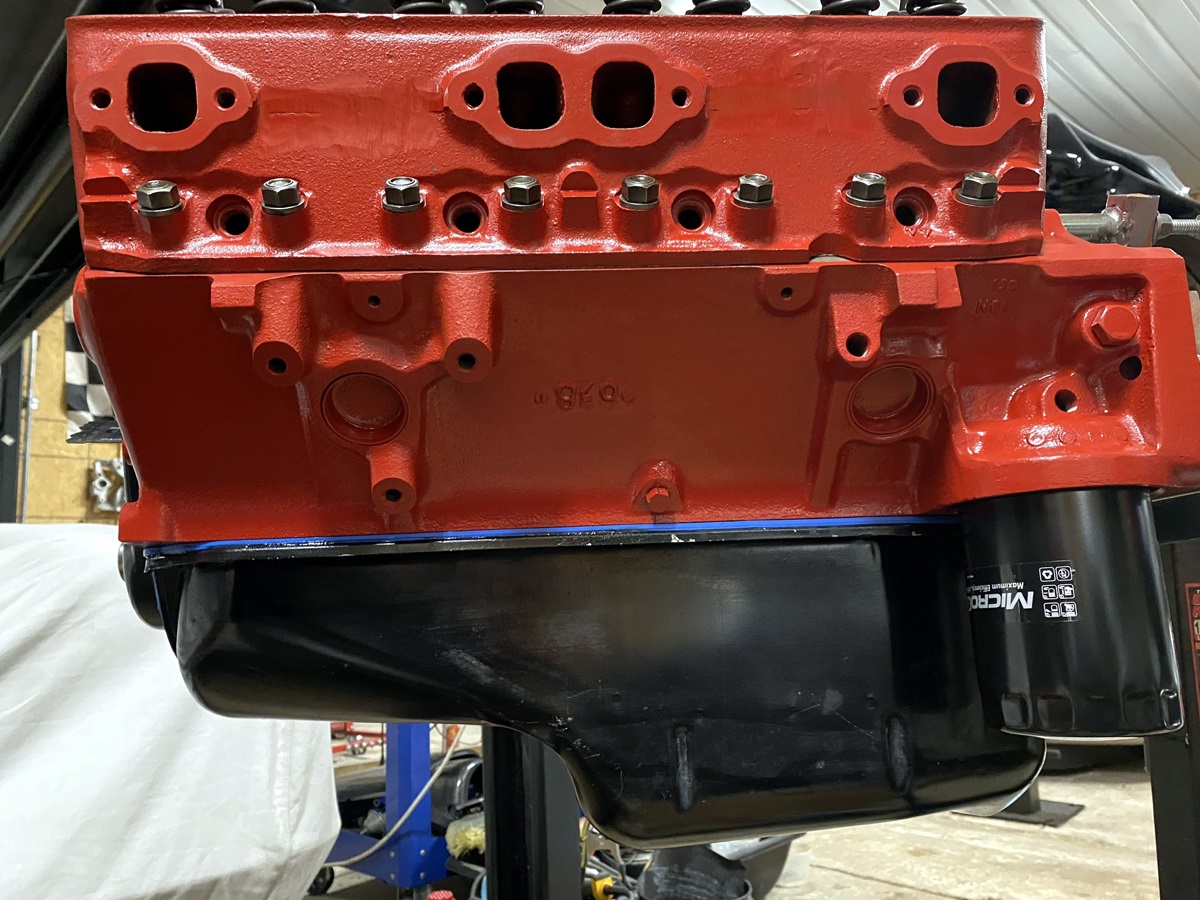
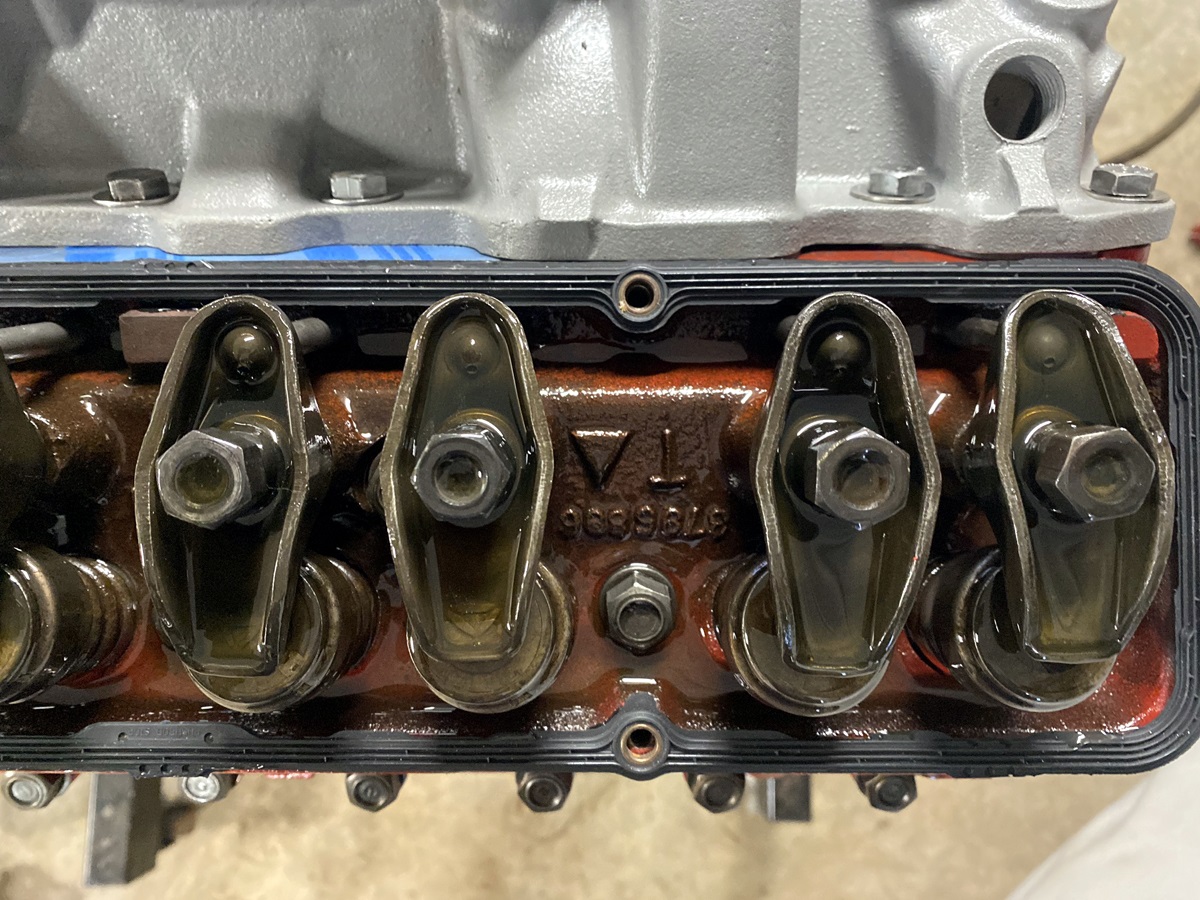
The heads are early Corvette 327 pieces (68 ft. lbs. torque) topped with OEM L-98 rockers and aftermarket locking nuts.
At this point the timing cover and oil pan are installed sealing up the bottom end.
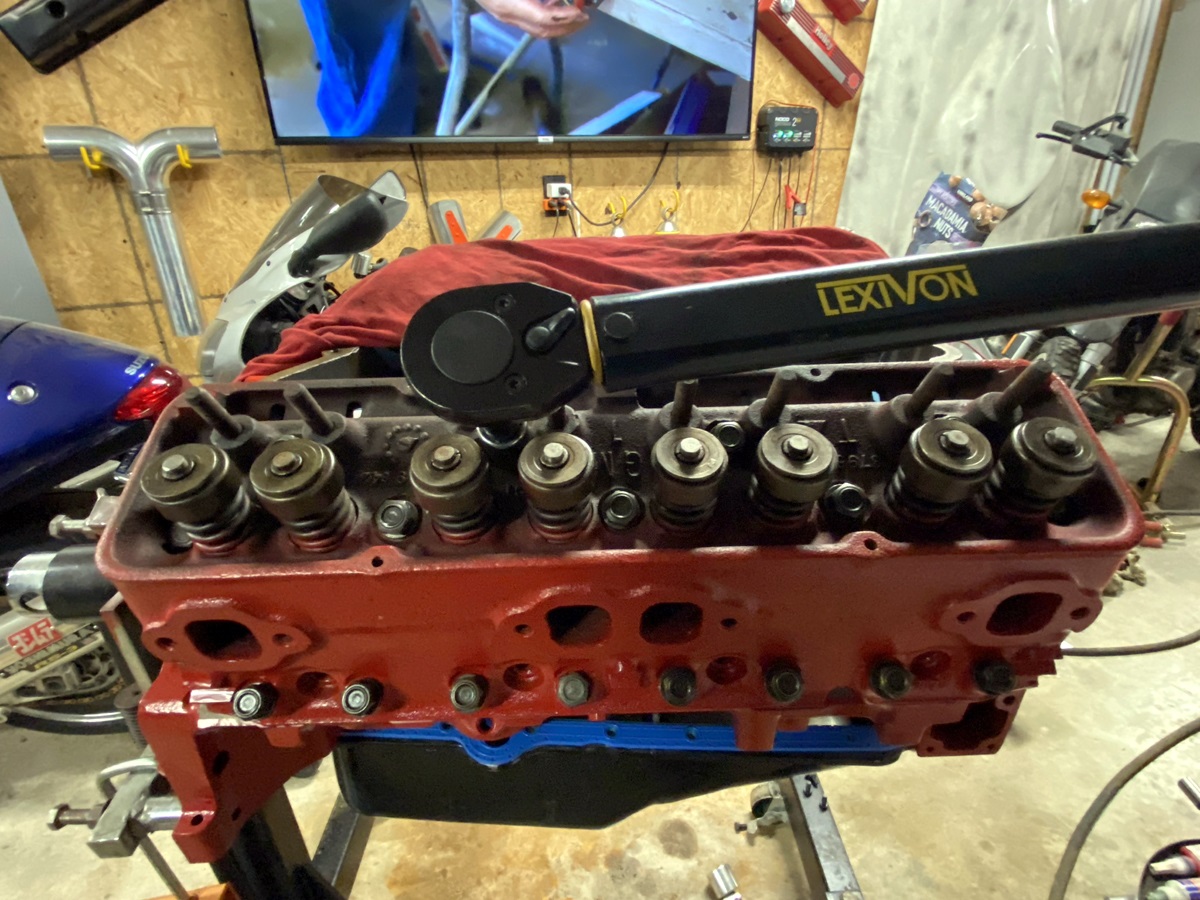
After applying some assembly lube to the face of the lifters, they’re installed along with the pushrods, rockers and locking nuts.
Voilŕ, the motor is finally assembled and ready for the crane!
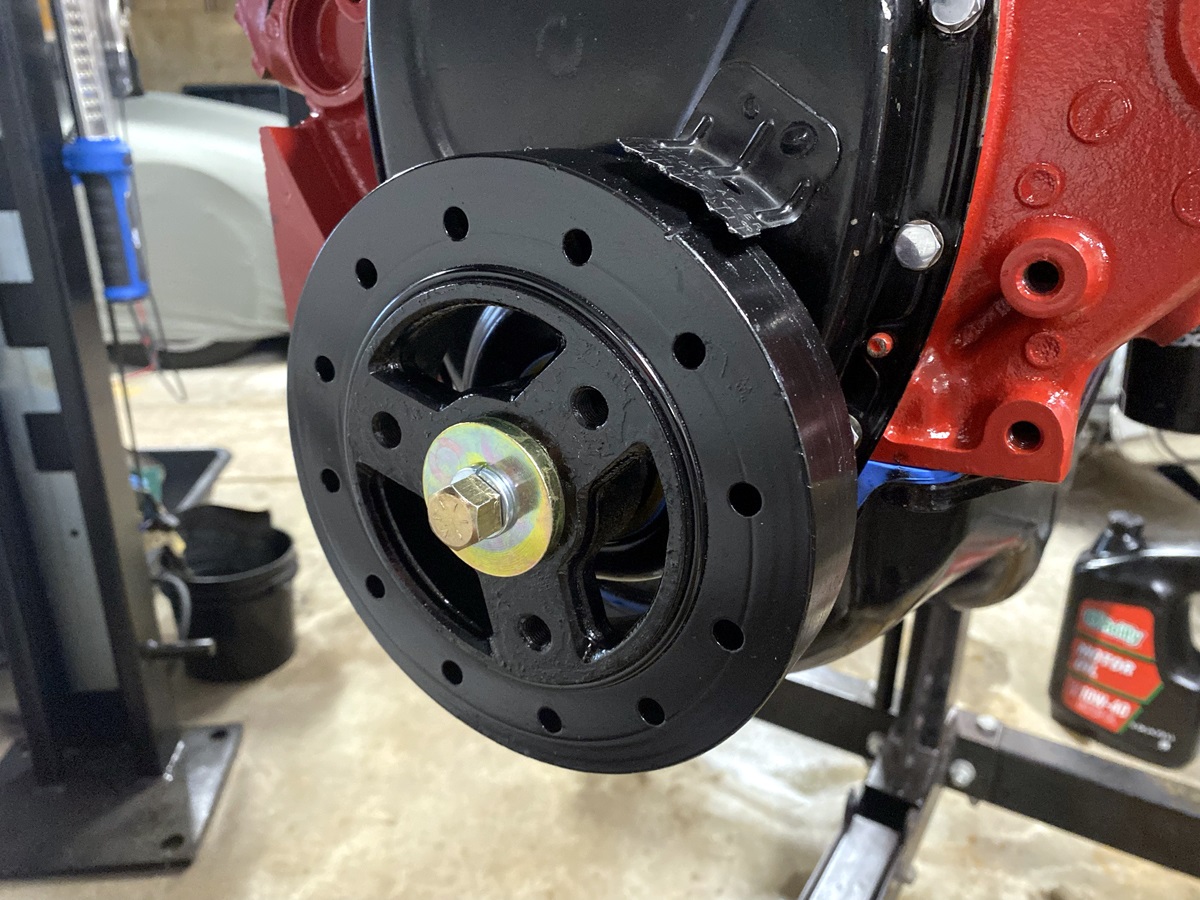
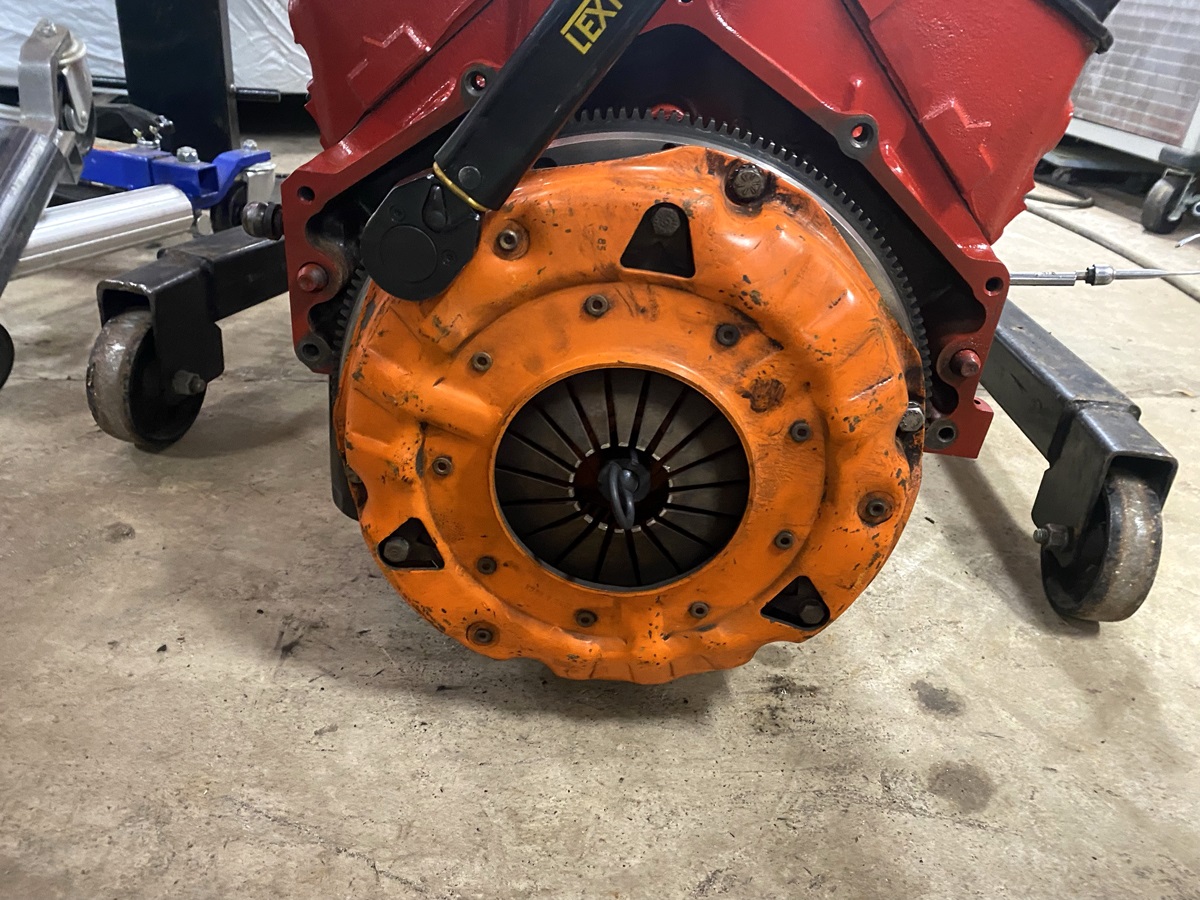
Finding a flywheel for a 1989 Corvette L98 (one-piece rear main roller motor) wearing 1964 Corvette 327 Heads and being mated to a 1970 Muncie M-21 4-Speed was a challenge, but we have one now and after adding some loctite to the bolts it was torqued in at 65 ft. lbs. followed by a Hayes Clutch & Pressure Plate again with loctite and 35 ft. lbs of torque she's finally ready to drop in.
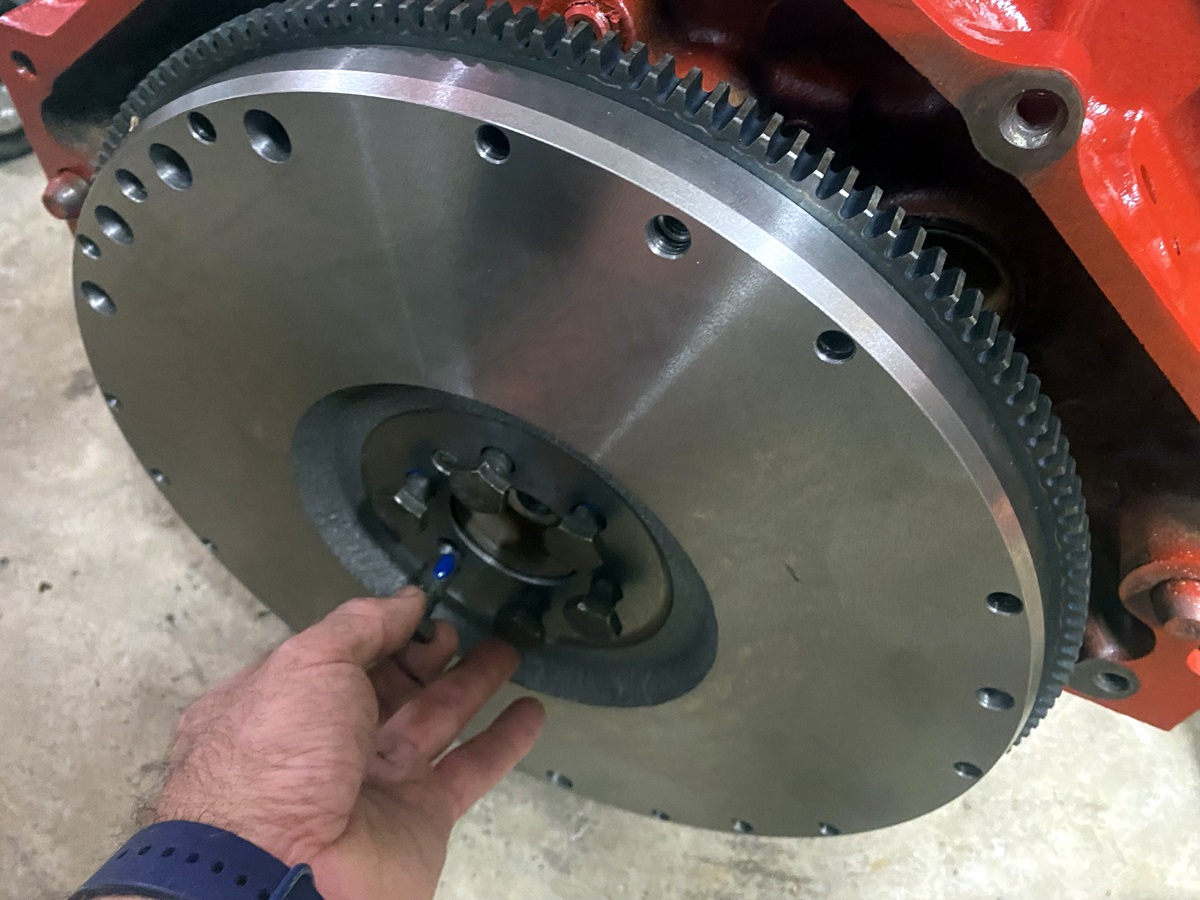
Note the single band on the transmission's input shaft. That denotes the M-21 variant.
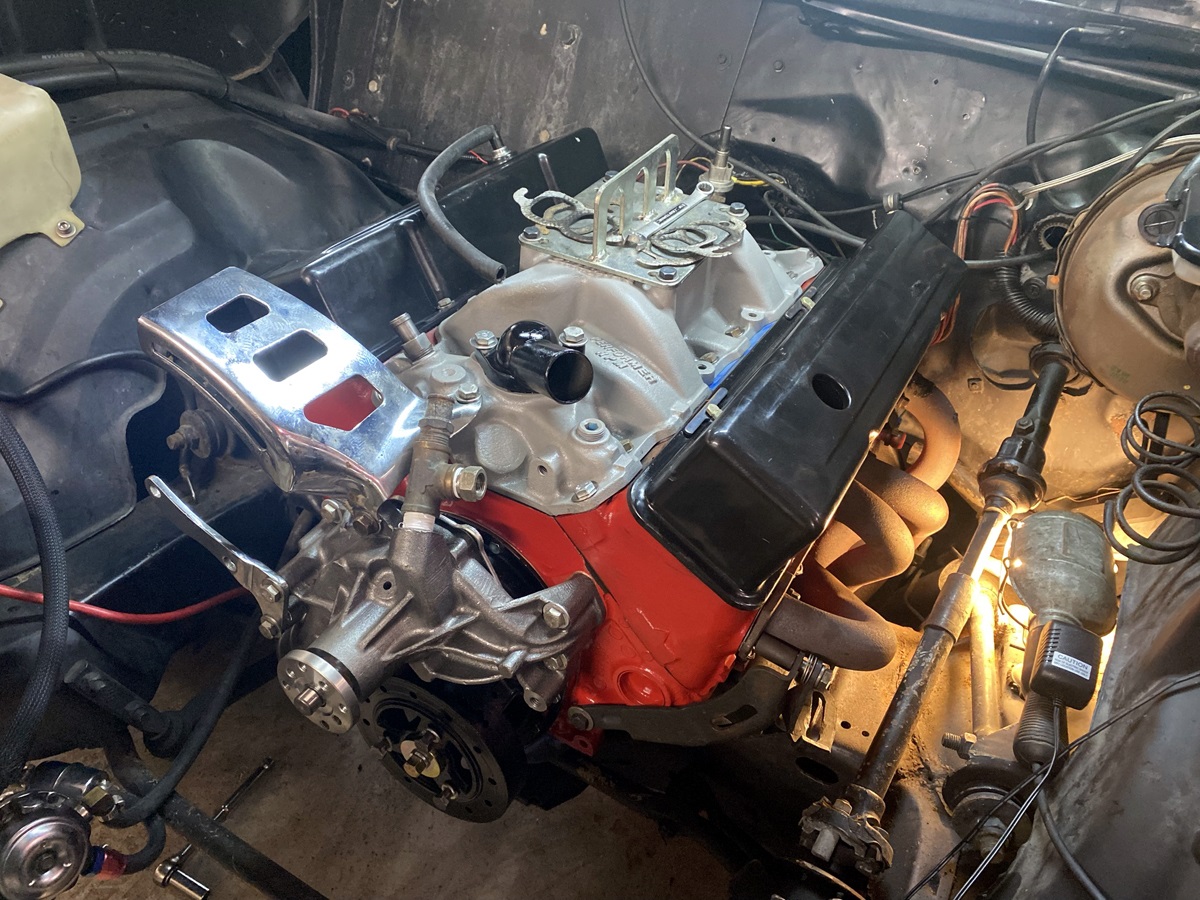
And she's in!

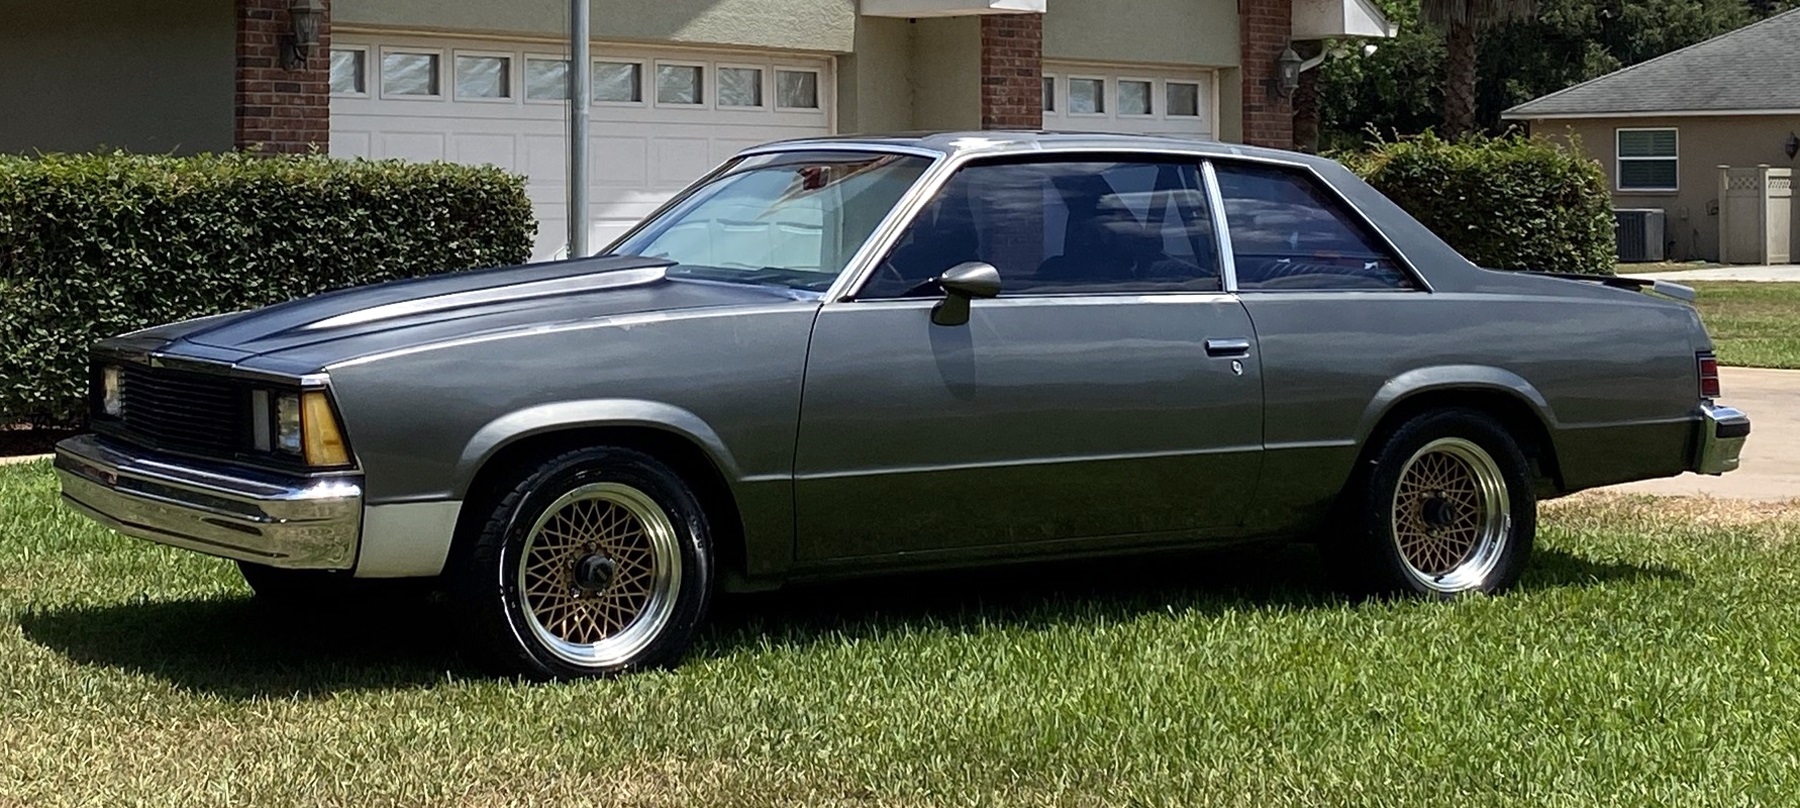
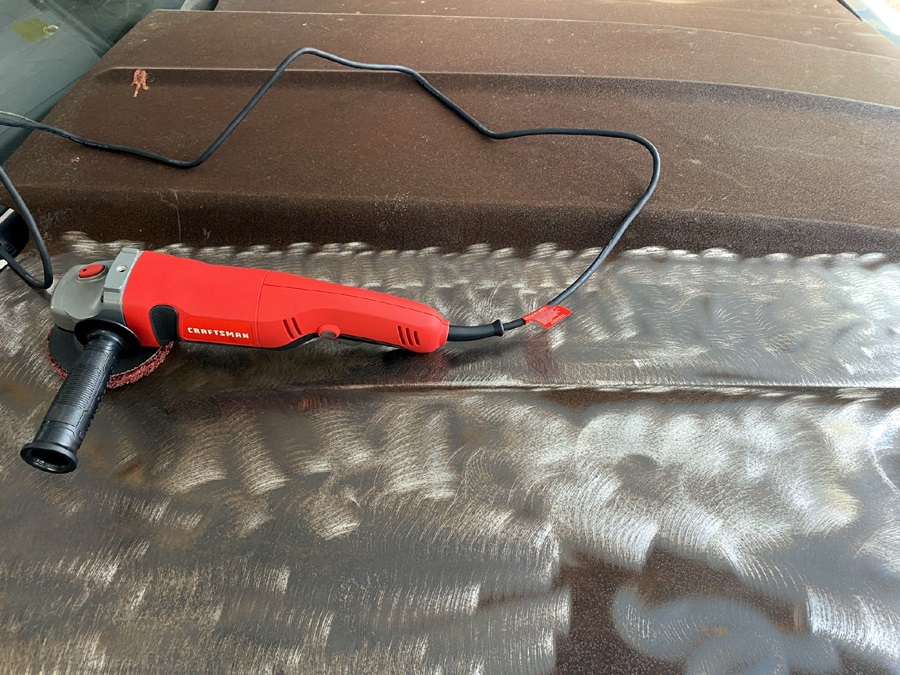
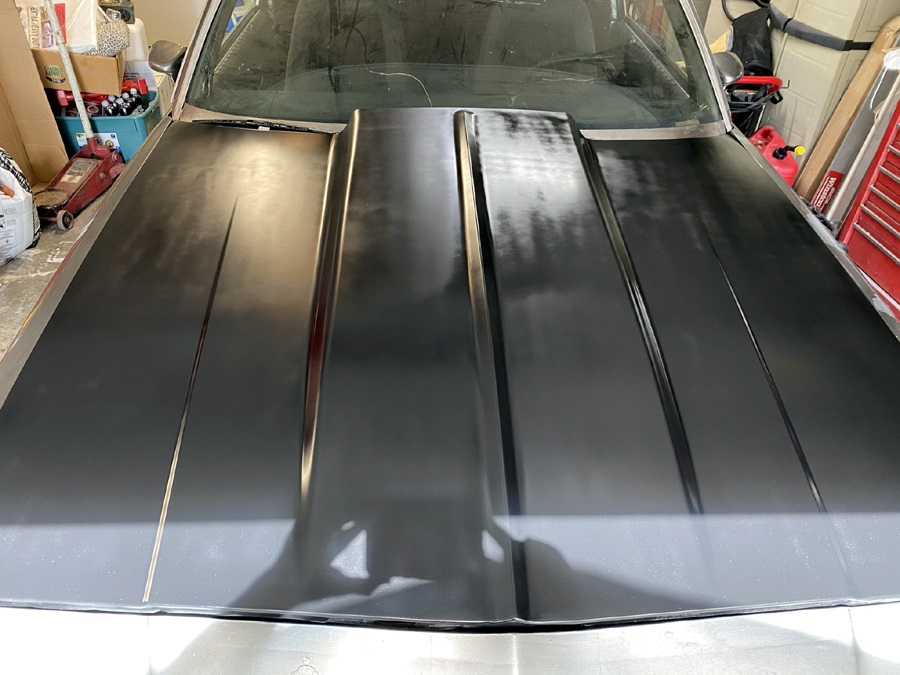
As much as it pains me to use an aerosol bomb on any automotive panel, the car was sitting in my father's garage and I needed to remove the rust on the hood and prevent it from reappearing before she was sent to bodywork. This $40 Craftsman angle grinder and a rust stripper pad made easy work if it--just had to watch the heat. We followed up with 80-grit, then 150-grit orbitals followed by a rust neutralizer (acid) bath, final cleaning, self-etching primer and a couple cans of satin black roll bar paint to seal it for now. The following weekend I drove her back to my shop and removed the SS nose and began reinstalling a factory front end. Bumper on, more to follow...
Finding metric fasteners and window adjusters for a 1980 was a challenge but several stores later and we were ready to assembly. First, though, the headlight buckets had to be coke blasted, neutralized and refinished. I have four, one is in great shape and looks new after blasting and the second best has a Swiss-cheezed lower half, but functional. Likewise, the header panel had a busted off corner and took a couple days of glass work to rebuild. Well, she still needs paint but clean and back in the stable for now.